Interacting With Other Users and Groups
The GeoNode platform allows you to communicate by message with other GeoNode users and groups of users.
You can also invite external users to join your GeoNode. In order to do that, click on the Invite Users link from the the Profile page (see Updating the Profile section) or from the About menu in the navbar.
You can invite your contacts typing their email addresses in the input field as shown in the picture below.
Click on
Submitto perform the action.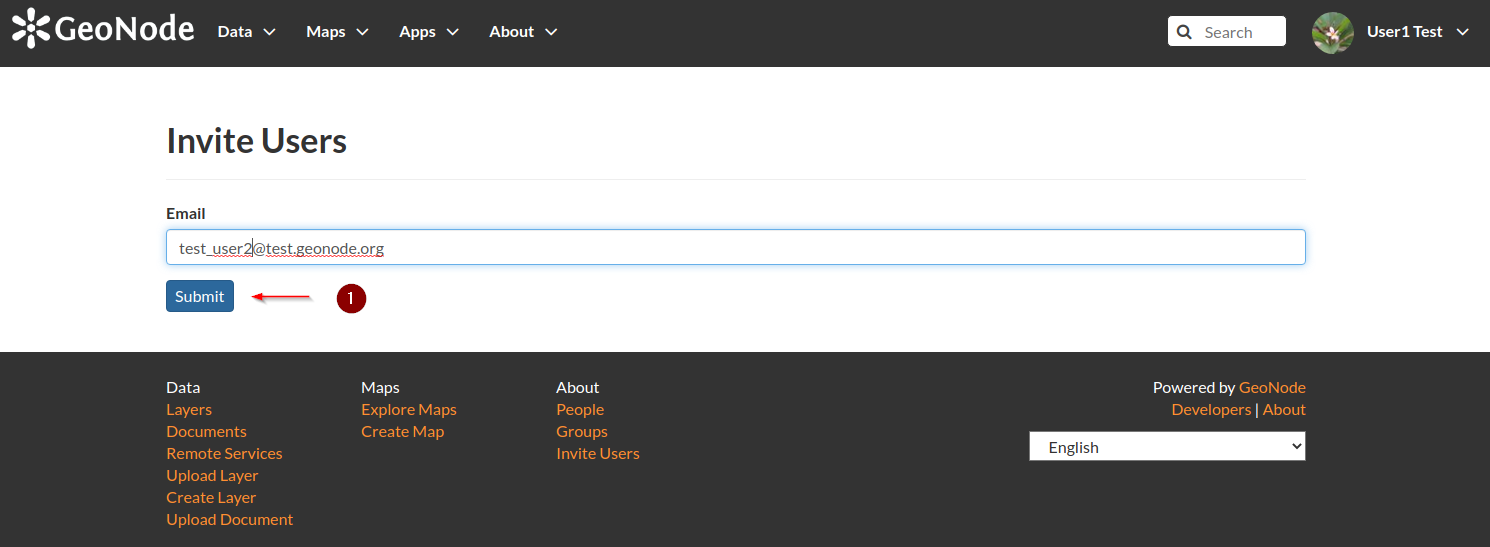
In this specific case, you will get an error while trying to invte new users through this feature. This is because there’s no valid
EMAIL SMTPservice configured on the Virtual Machine and therefore GeoNode does not know how to send e-mails. Notice also that you might end up getting an error whenever you specify an invalid e-mail address or domain.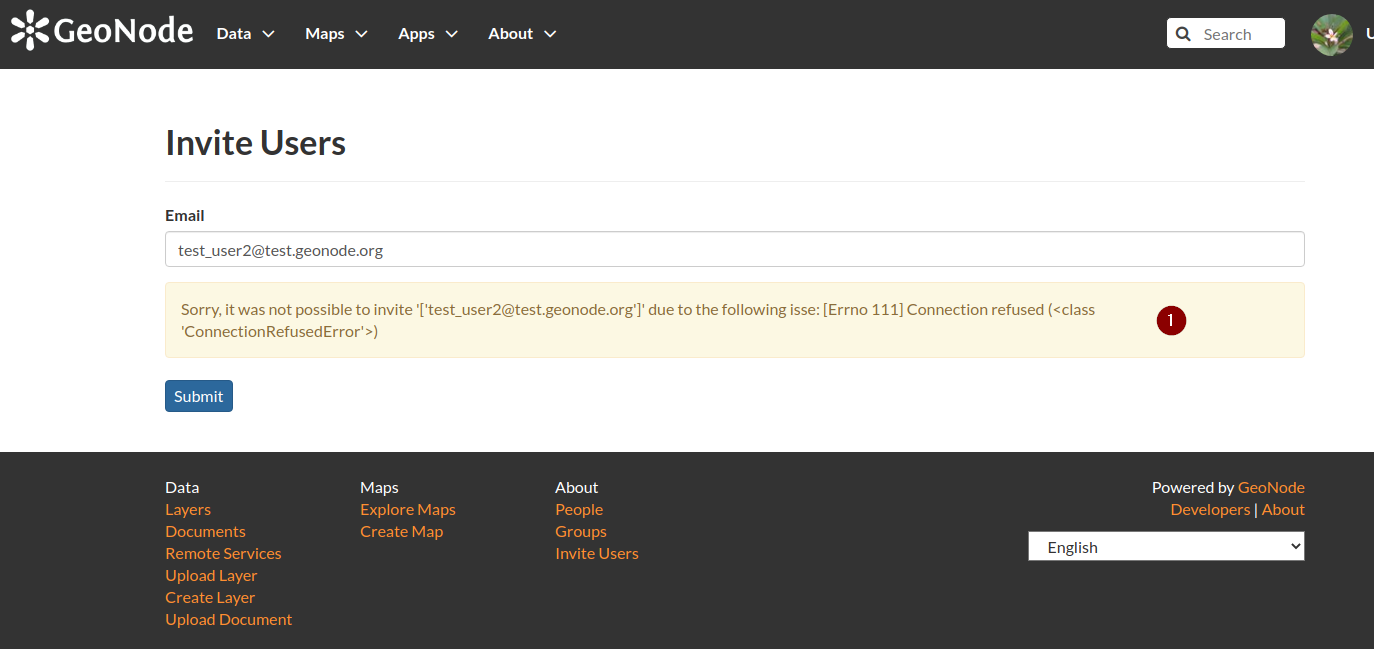
In order to move on with the exercises and examples, let’s create a new user, called
test_user2similarly to thetest_user1we just created on the previous section.USERNAME:
test_user2E-MAIL:
test_user2@test.geonode.orgPASSWORD:
test_user2PASSWRD (Again):
test_user2

Viewing other Members Information
Once created, explore the memebers registered to the system by clicking on the
Peoplelink from theAboutmenu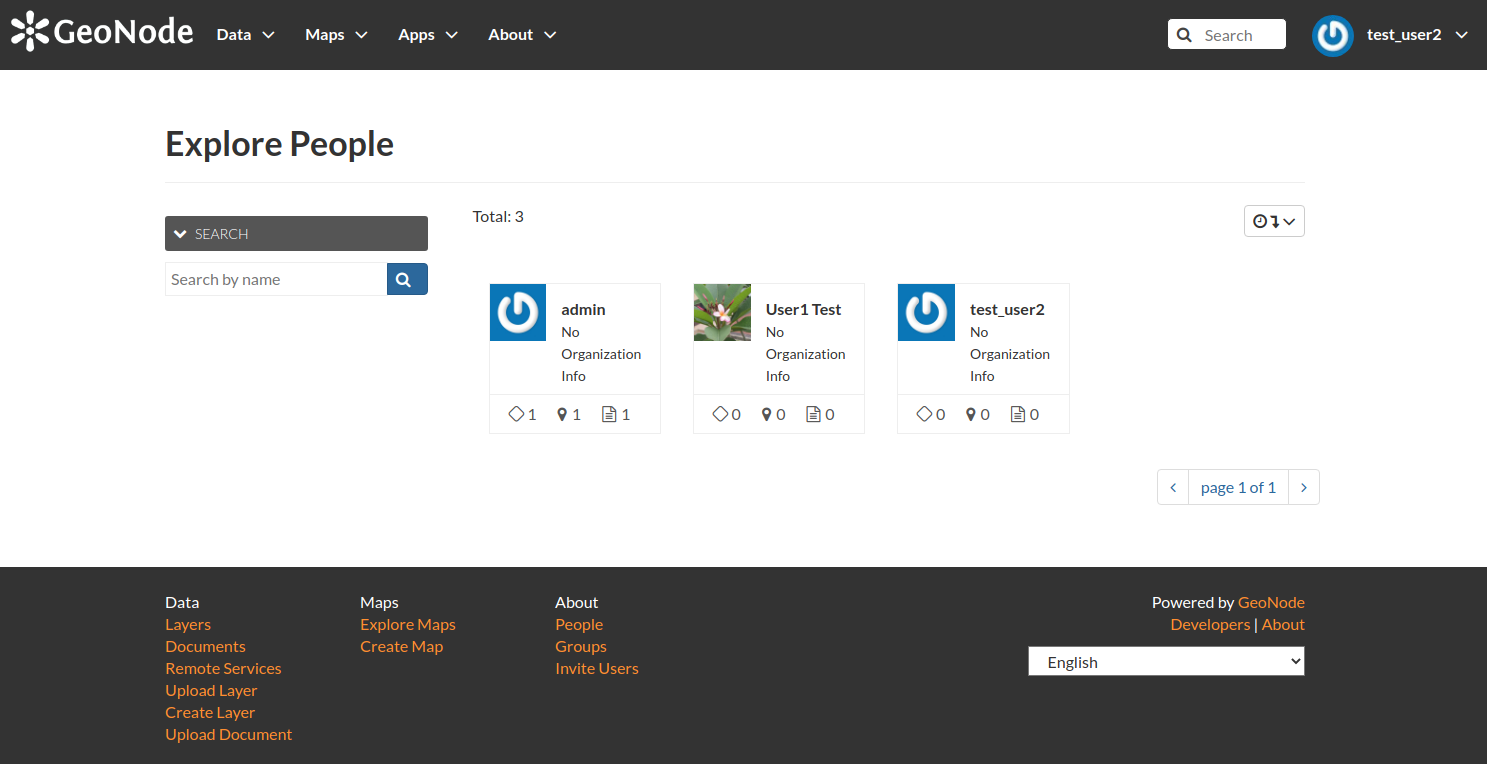
Login as
test_user2and try to get the details of the membertest_user1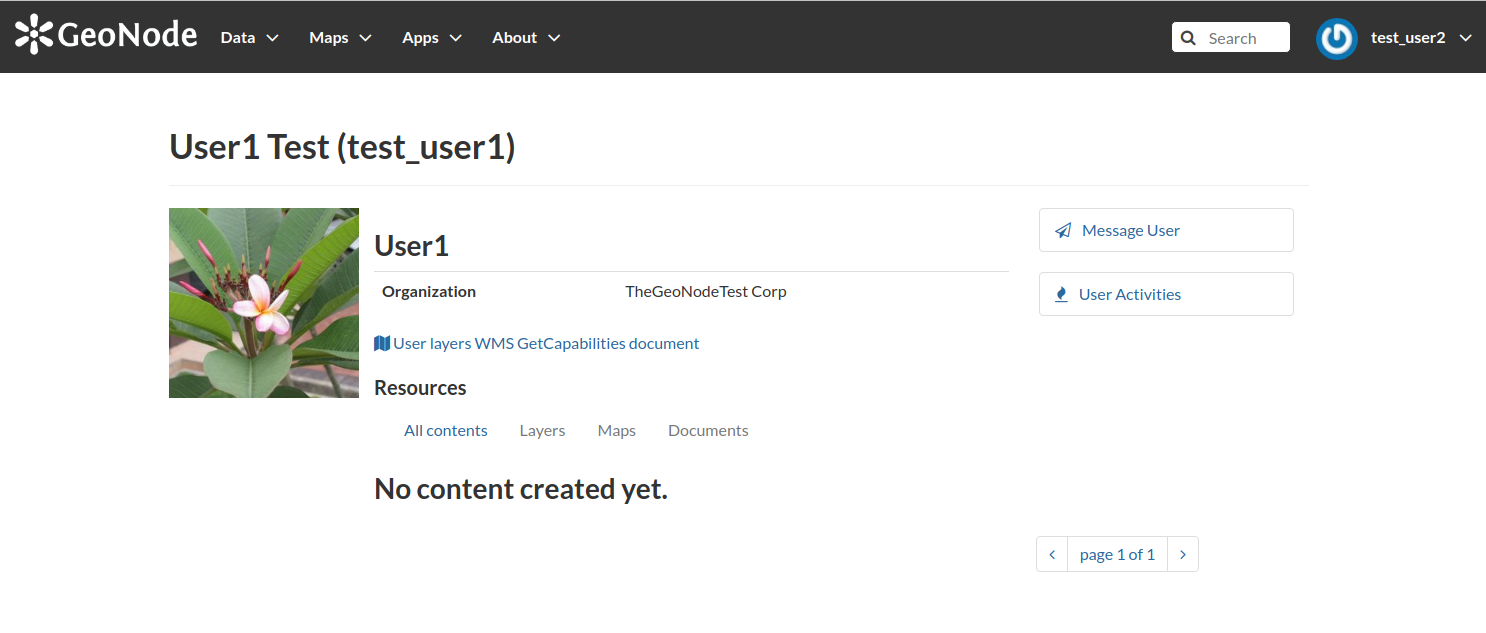
Now try to get the details of your own user,
test_user2. Notice that if your user is not asuperuseryou won’t be able to access private information about the other members. Nevertheless, be careful because GeoNode will use those information on the contents metadata whenever you publish something on the platform.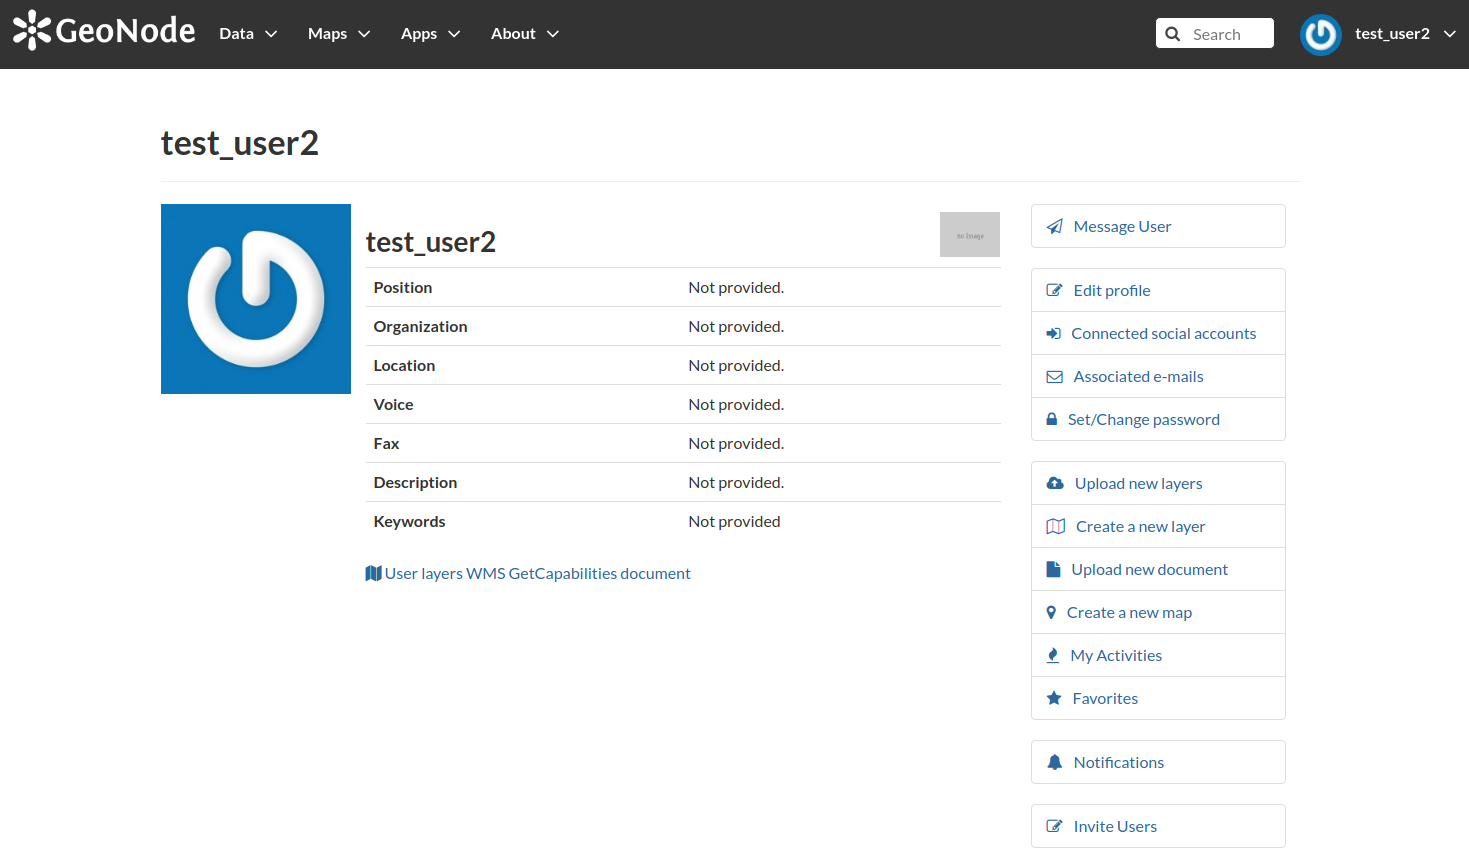
Now click on the
Groupslink from theAboutmenu.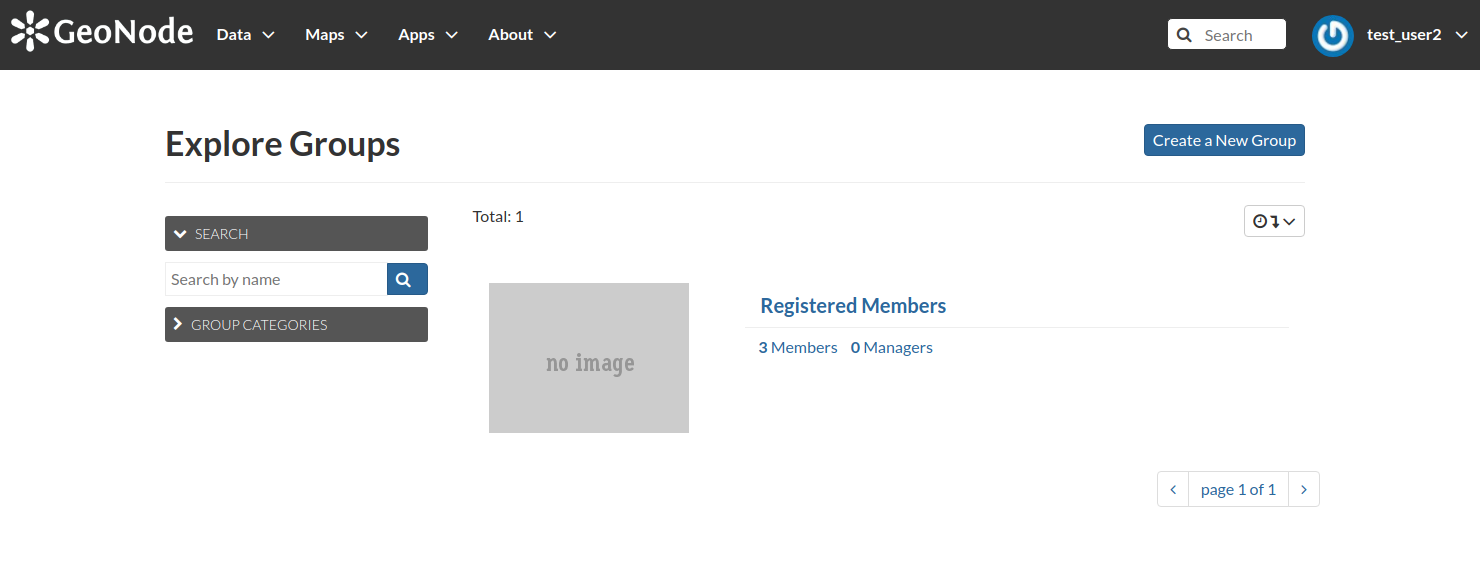
You will be able to access the list of all the available Groups currently present into the platform. Notice that by default every new member will be automatically registered as a member of the
Registered Membersgroup. By clicking on the group name, you will be able to access the group details page. A Group in GeoNode not only allows you to group together different members in order to easy the assignment of permissions to the resources (we will see this more in details in the next sections) and to message them (see below), but also to allow other users to recognize them as part of the same organization or department. In other words, this is a way to organize internally the members registered to the platform.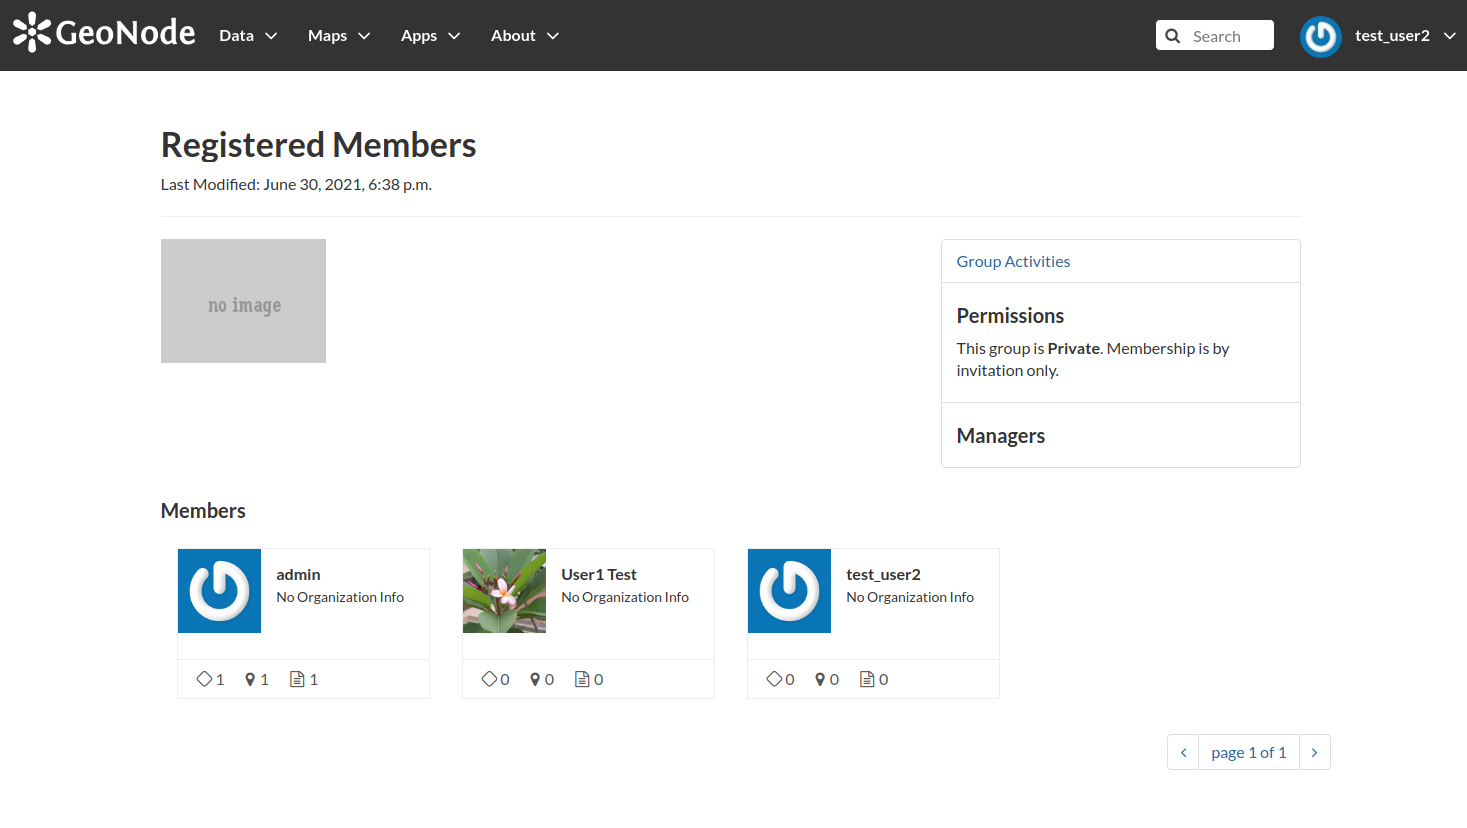
One interesting feature of the groups, also, is that you can easily access their
Activitylist, i.e. you can quickly recognize all the contents provided by the members of the group. Accessing the groupActivityallows you to easily recognize the contents published by the group members. Of course you will be able to see only the public ones or the ones you have access to, as a single user or as a member of a group.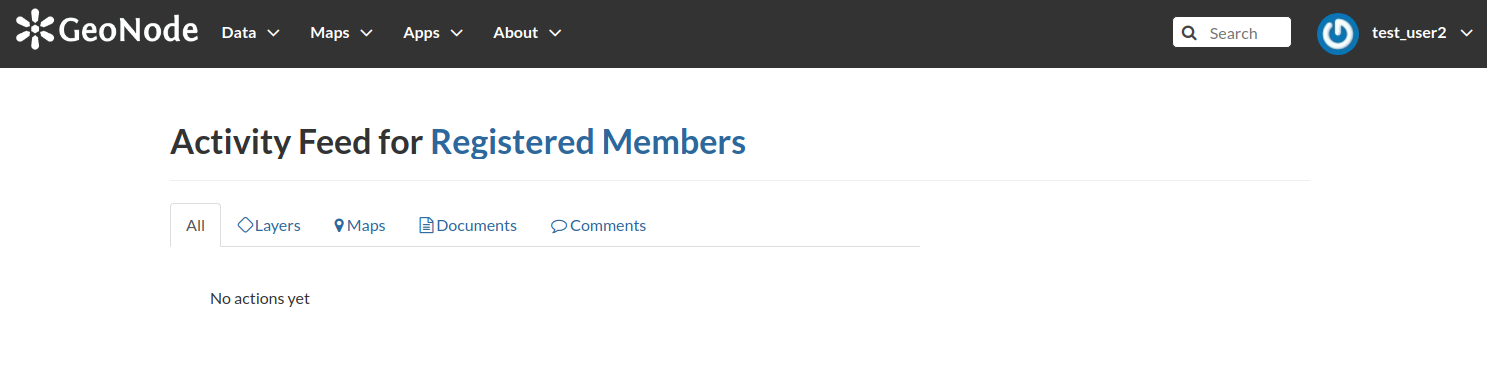
Similarly it is possible to the whole
Activitylist. Again, you will be able to see only public resources or the ones you have access to.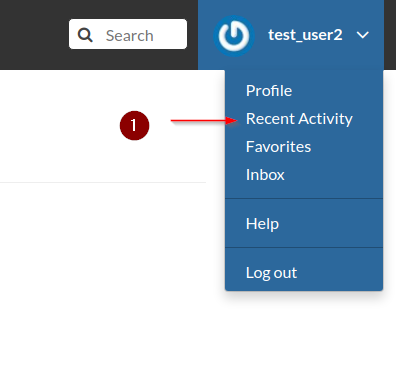
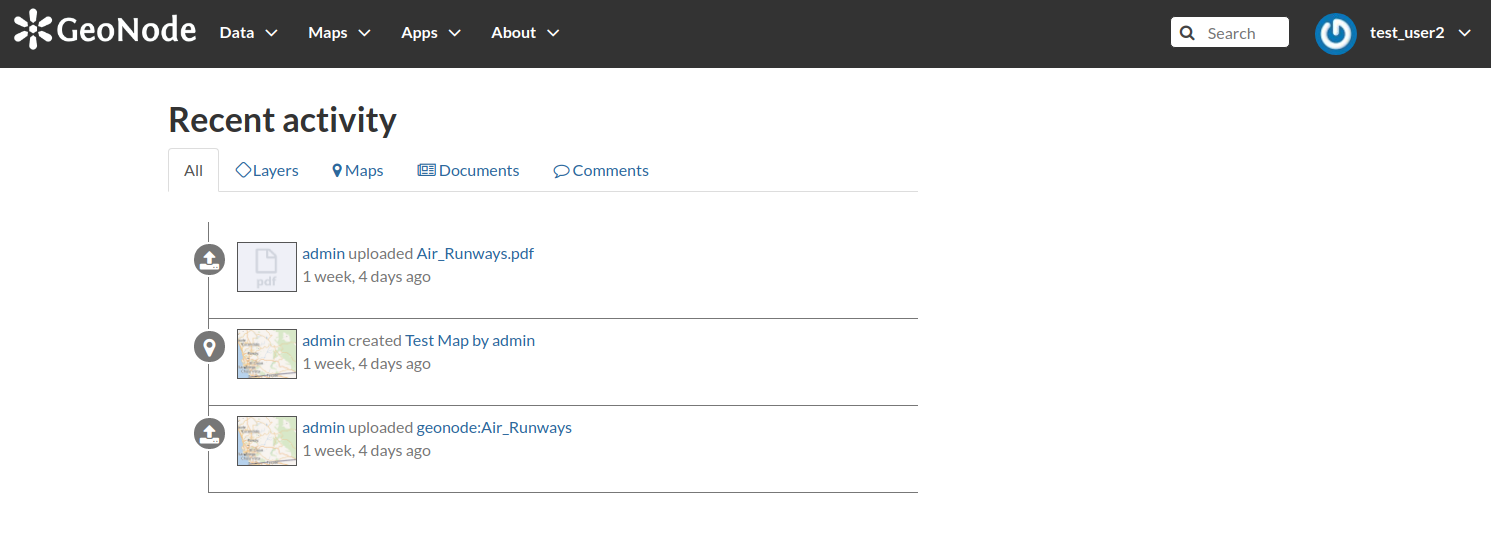
Similarly it is possible to your own
Activitylist. TheWMS GetCapabilities Documentlink will allow you to generate anXMLoutput OGC Compliant reporting only the layers belonging to the current user. In the next section we will go deeper into those concepts in order to better understand what OGC Compliant means and what a Layer is.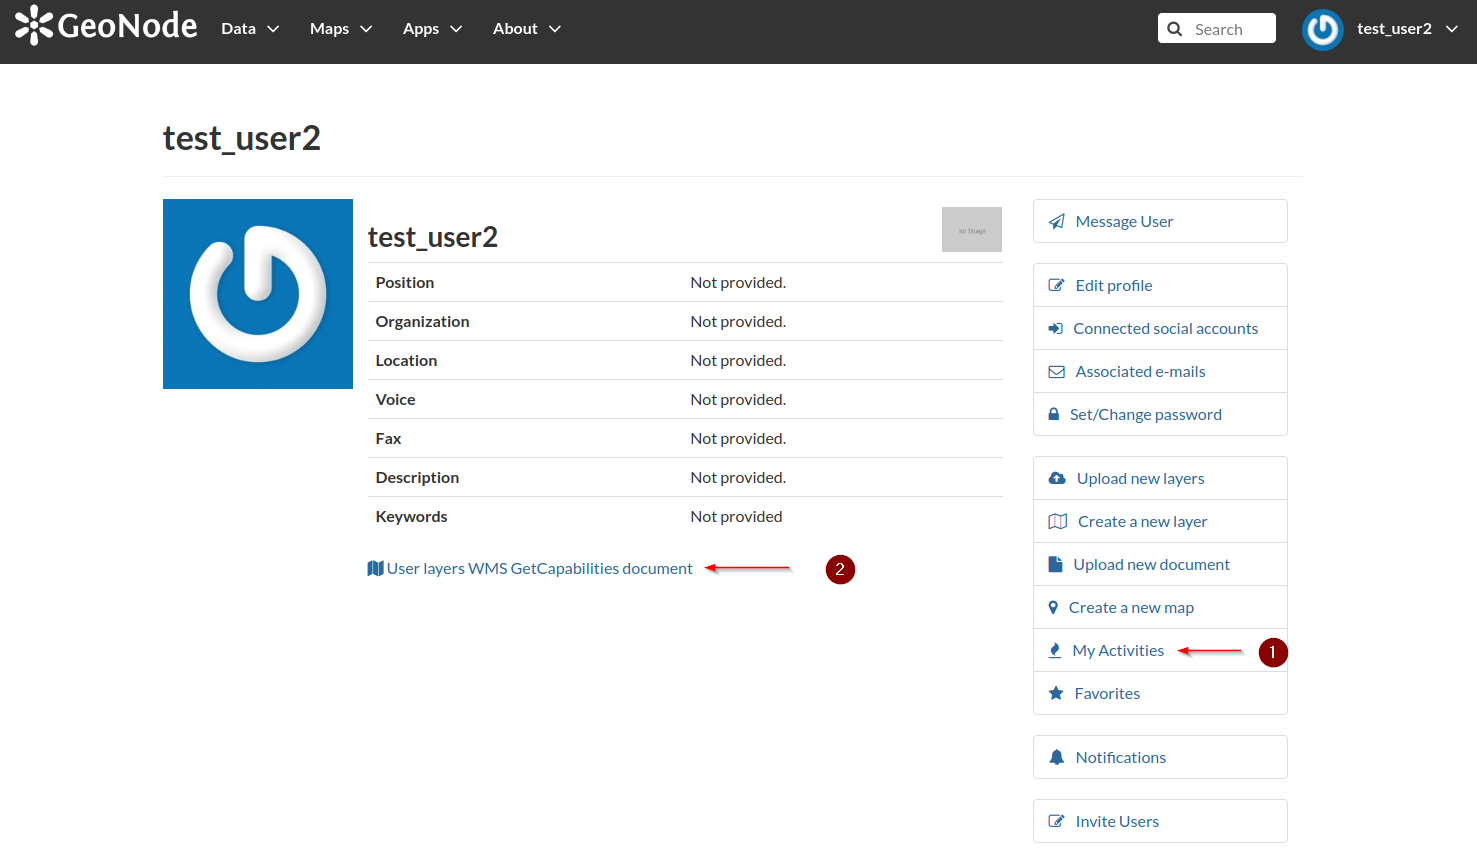

Contatcing and Messaging other Members
It is also possible to use an internal messaging system in order to quickly communicate with other registered members or groups. Click on the
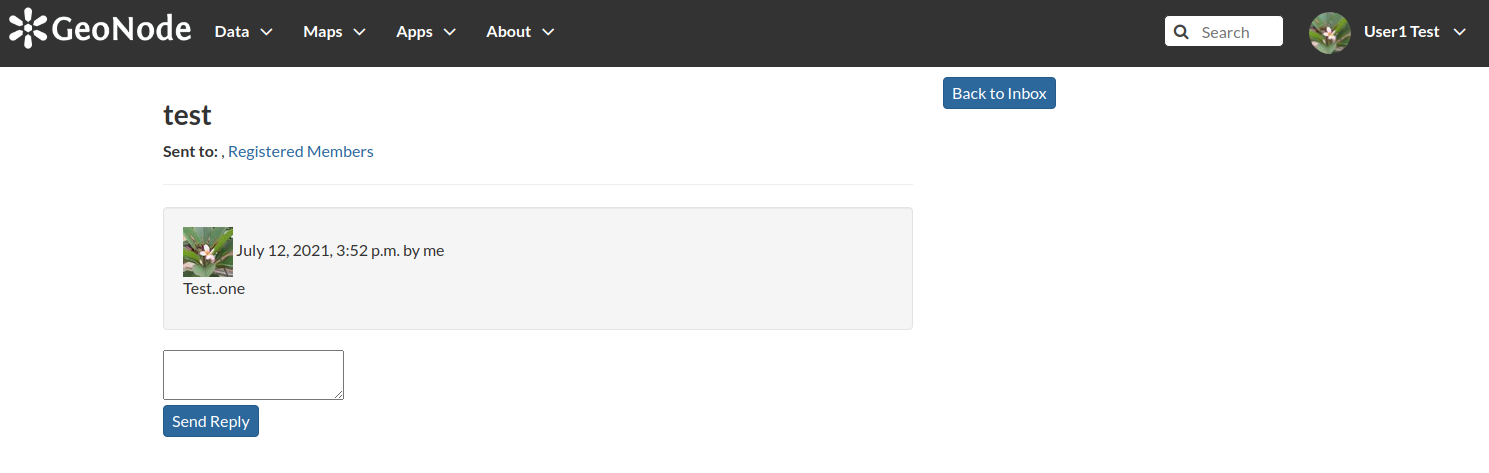
Message Userlink from theProfilepage menu. As atest_user2try to send a message totest_user1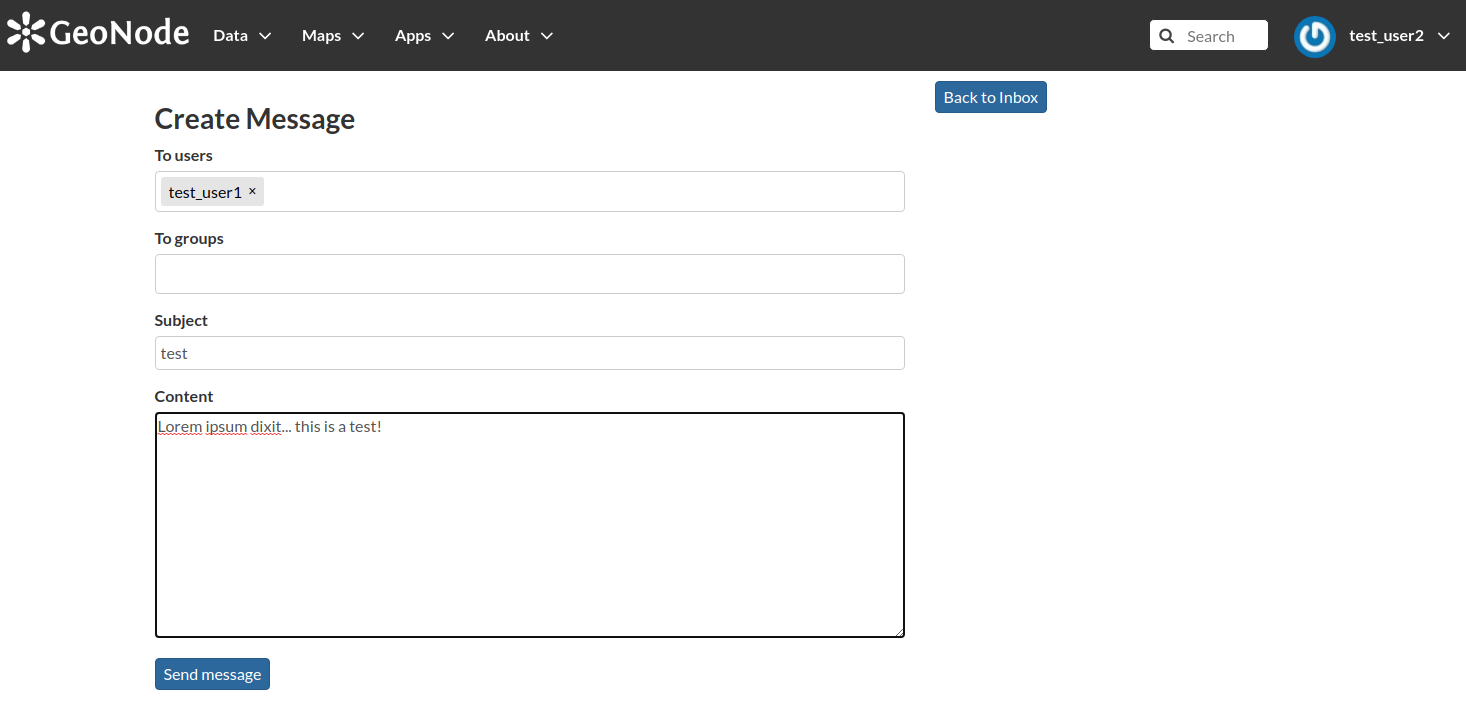
You
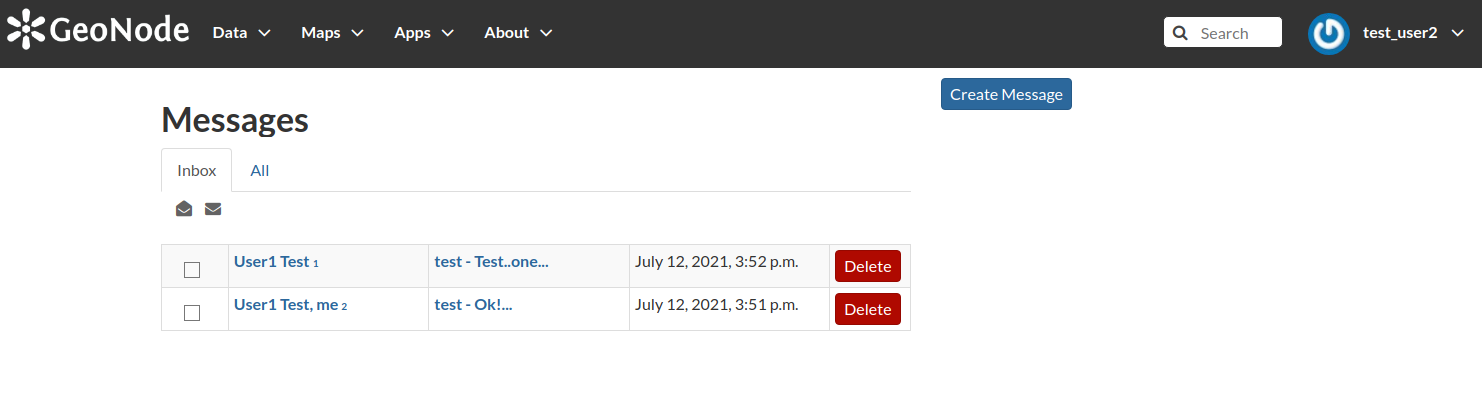
Inboxfolder contains the incoming messages.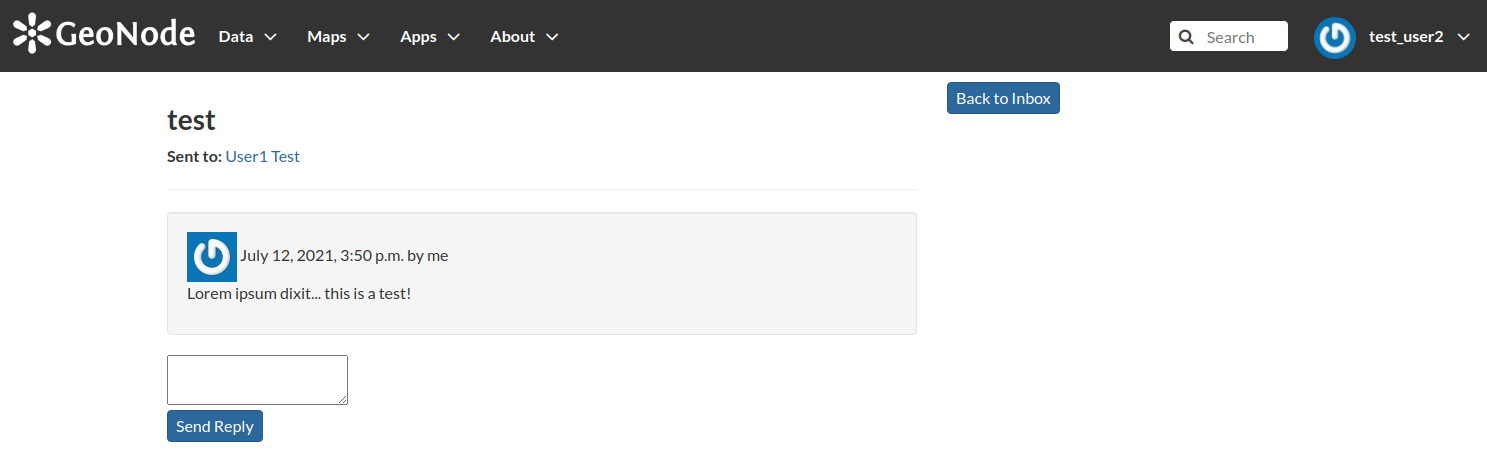
From the
Inboxit is also possible to access all the messages available, including the ones sent by you.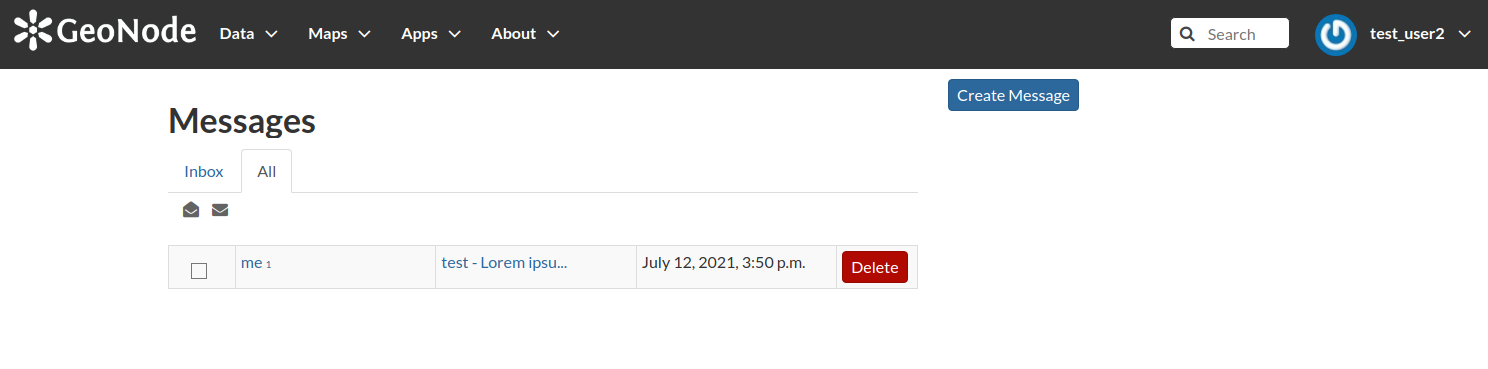
Now log out and log in again as
test_user1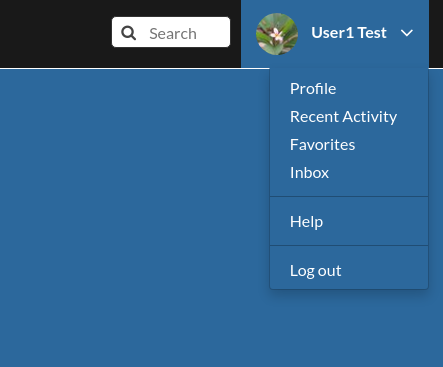
Notice the new messages incoming from your
Inbox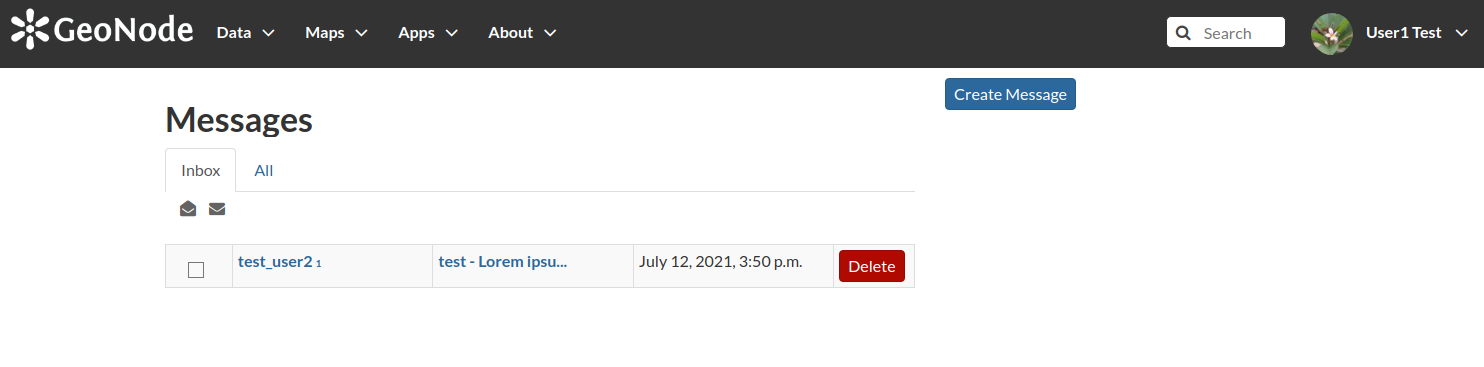
Try also to reply to
test_user2message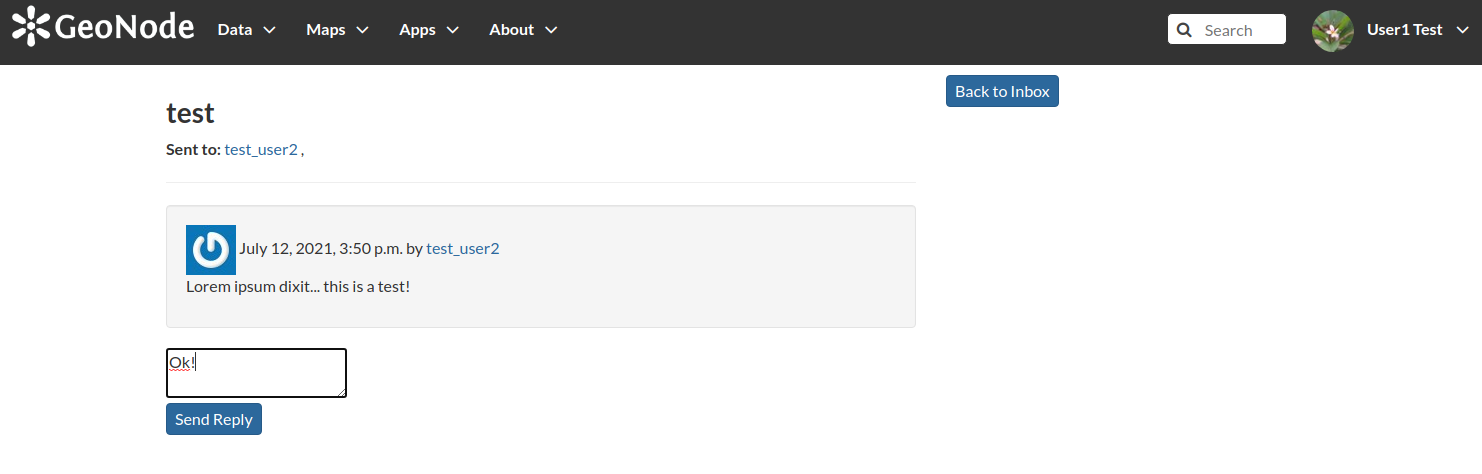
There’s also the possibiity to send a message to a whole group; in order to do that, start typying the group name instead the single user one
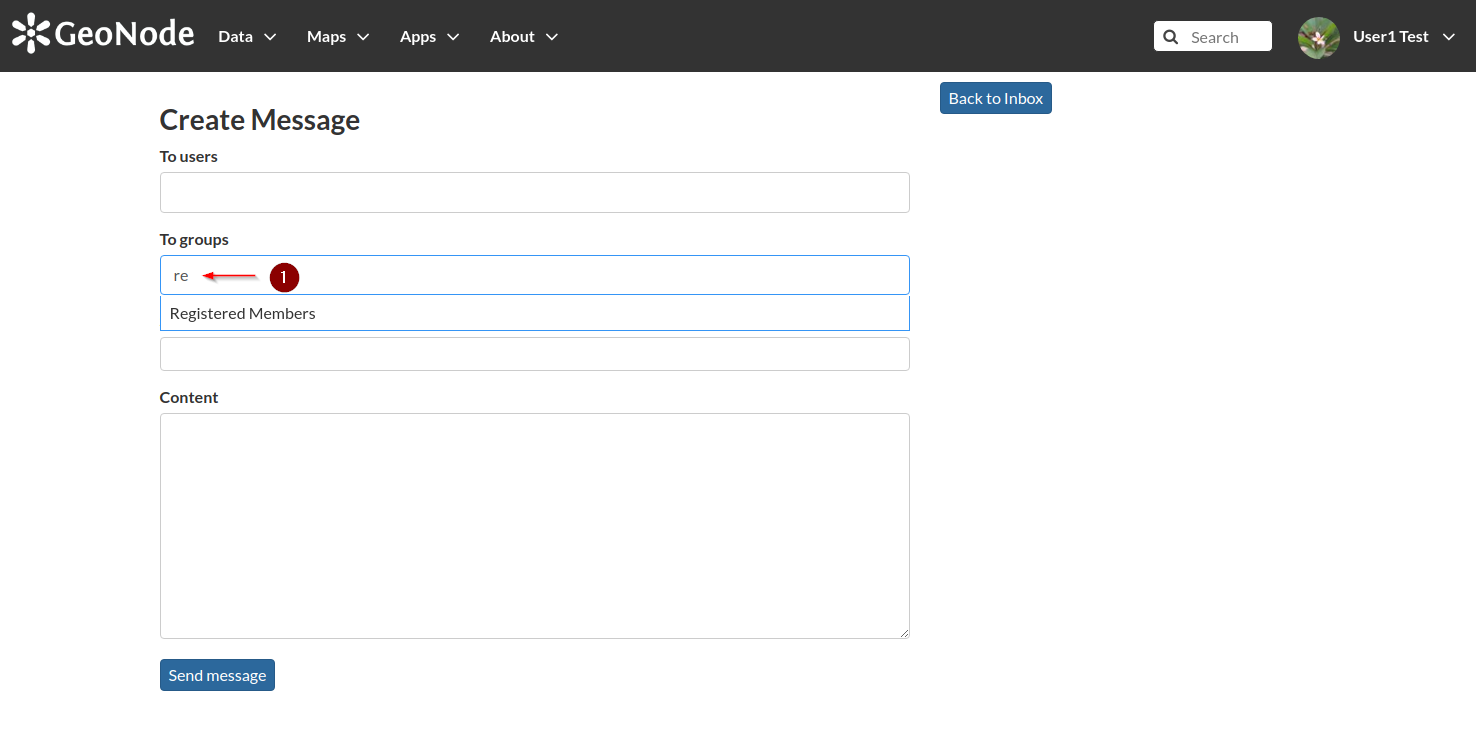
Notice how each member of the group will receive the message