Adding Base Types to GeoNode
This section explains how to add some of the base data types into GeoNode.
As an example we will learn how to upload a ShapeFile and GeoTIFF into GeoNode, as well as how to create maps and documents.
Adding a Shapefile
Navigate to the GeoNode main page
http://localhostand log in astest_user1; from thenavbarclick theUpload Layerlink from theDatadropdown menu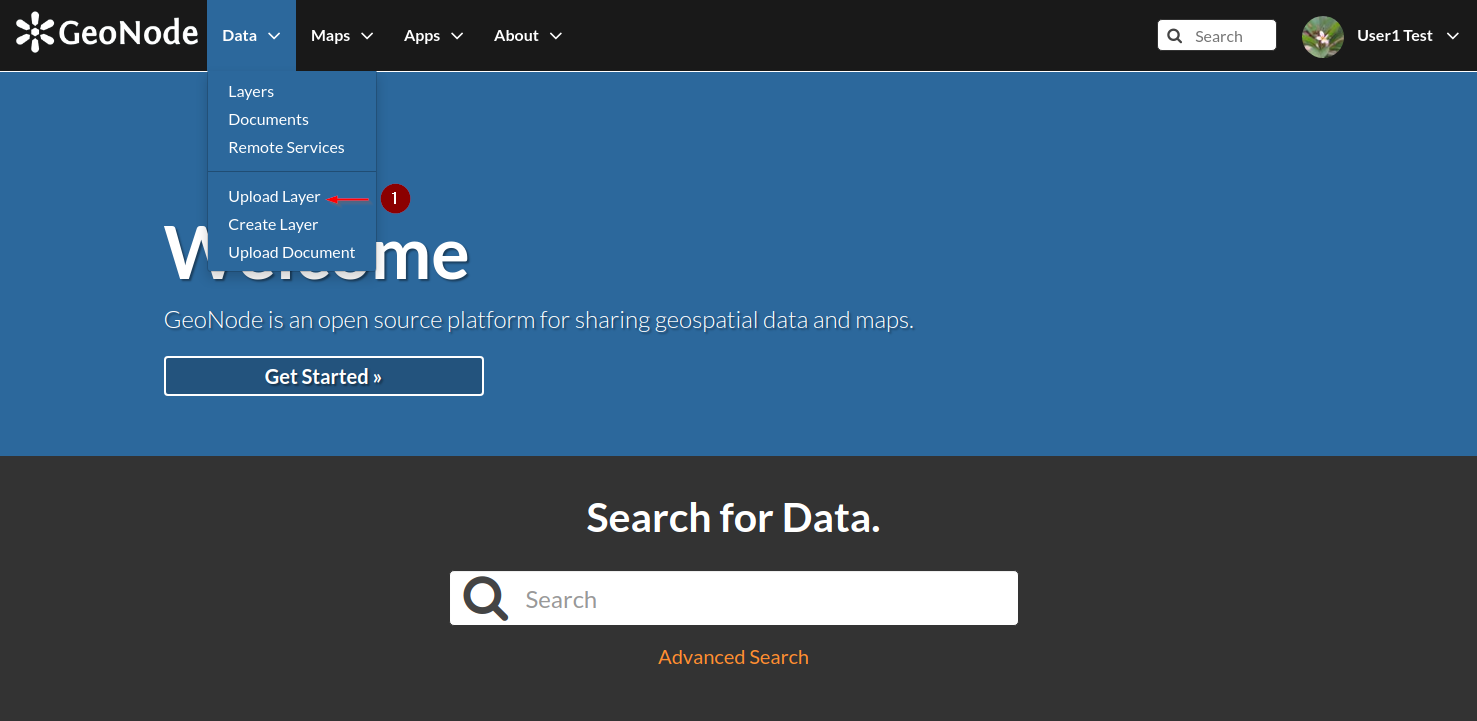
In the next page, select and click the
Choose Filesbutton
From the
file browser windownavigate to:/opt/data/sample_data/pretty_maps/data/boulderBy pressing
RIGHT-SHIFTplusLEFT-CLICKselect all theMainrd.*filesClick on the
Openbutton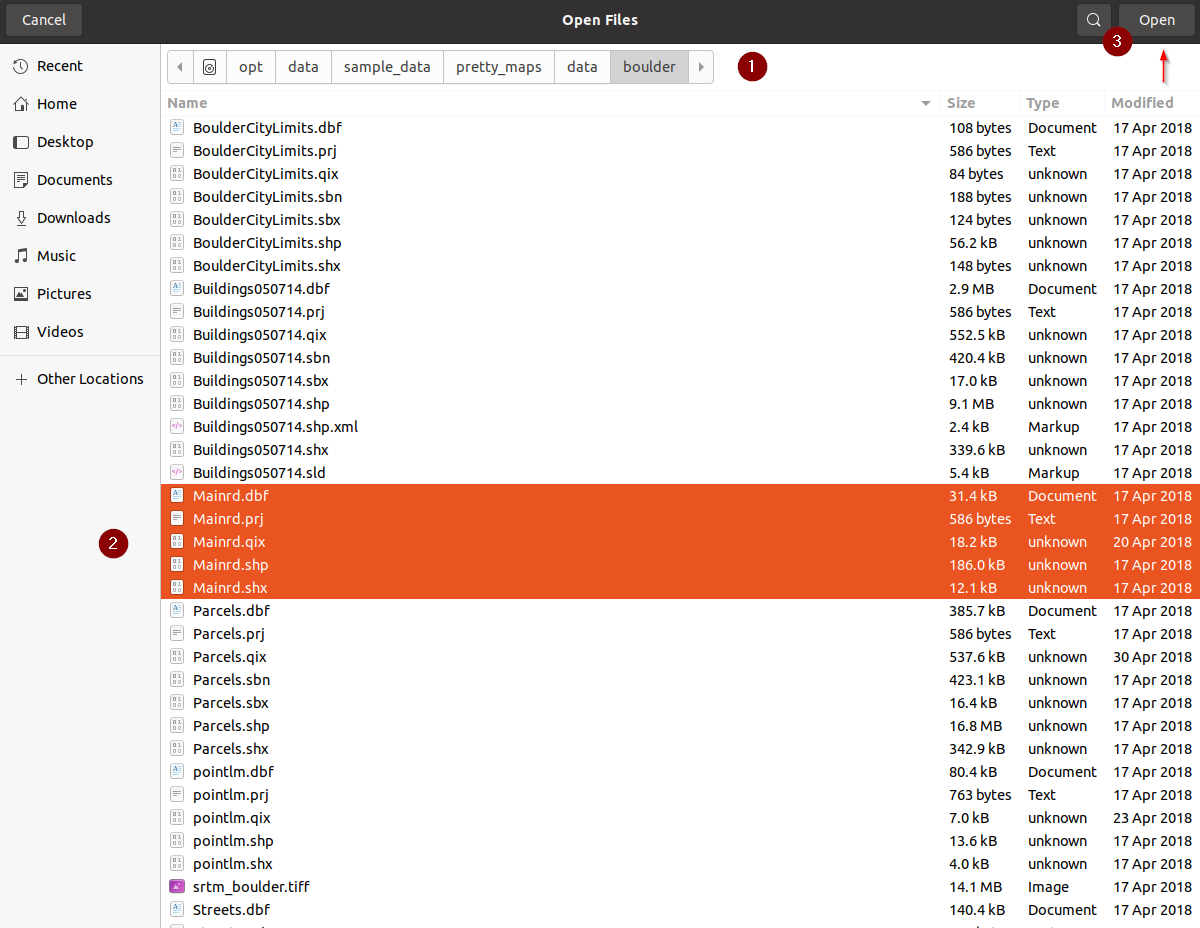
If everything went well, you should be able to see the files listed into the
Upload Layerpage; click on theUpload filesbutton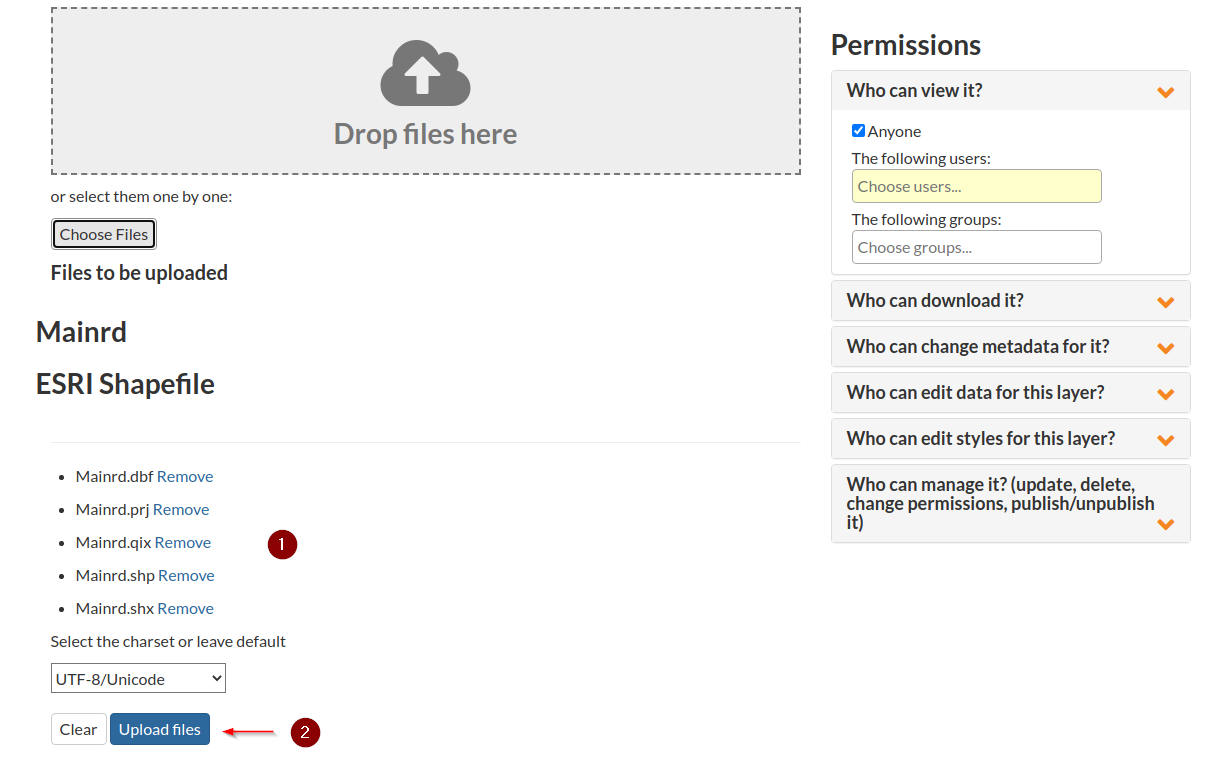
The upload will start and you will be able to see a progress bar on the top of the page; please be patient, if you have a slow machine it will require some time to finish
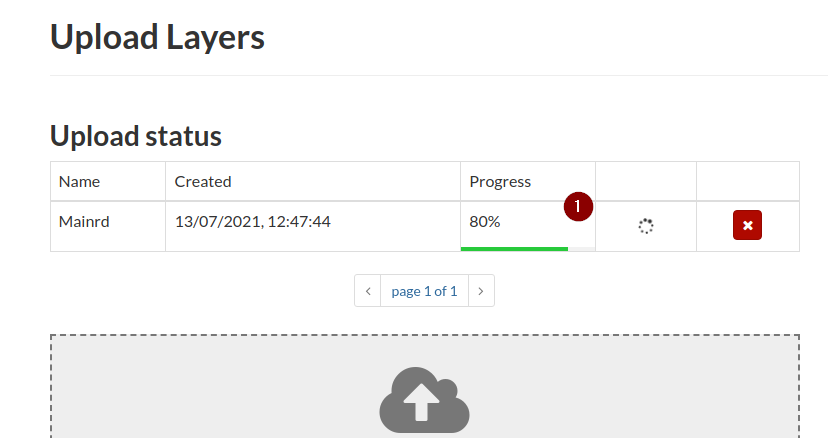
If no errors occur, the progress reaches the
100%and the name of the newLayerbecomes clickable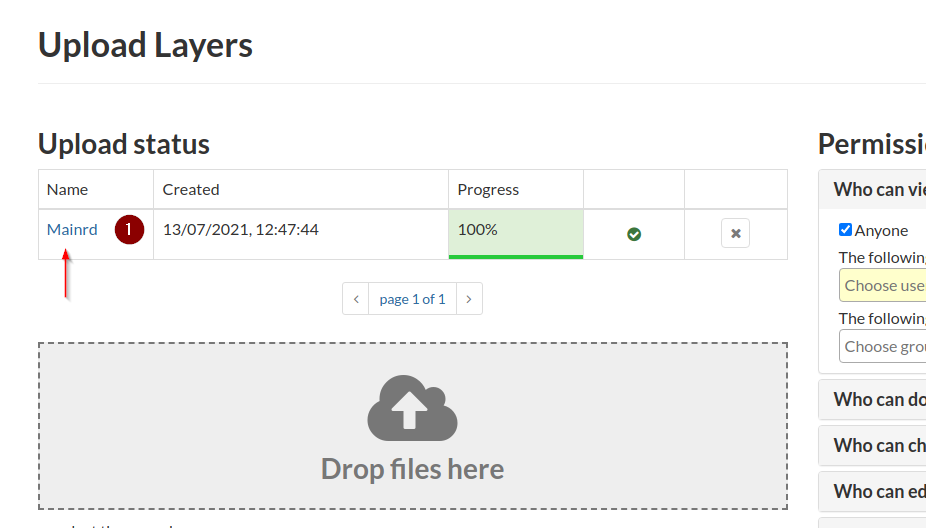
Click on the
Layername in order to be redirected to theDetails Page. This page is composed by different sections. We will inspect them in details in the next chapters.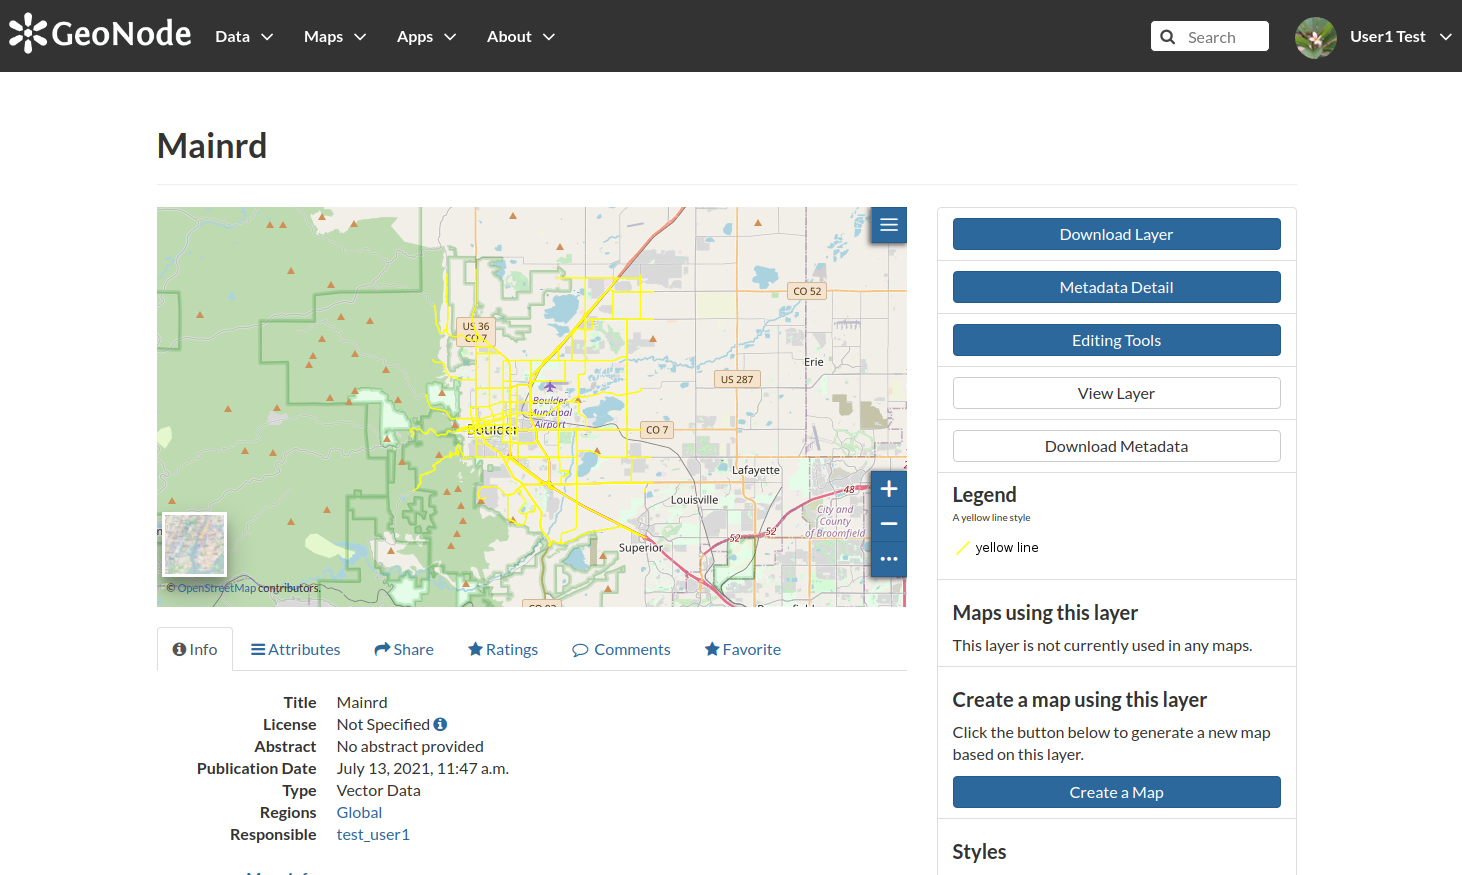
Click on the
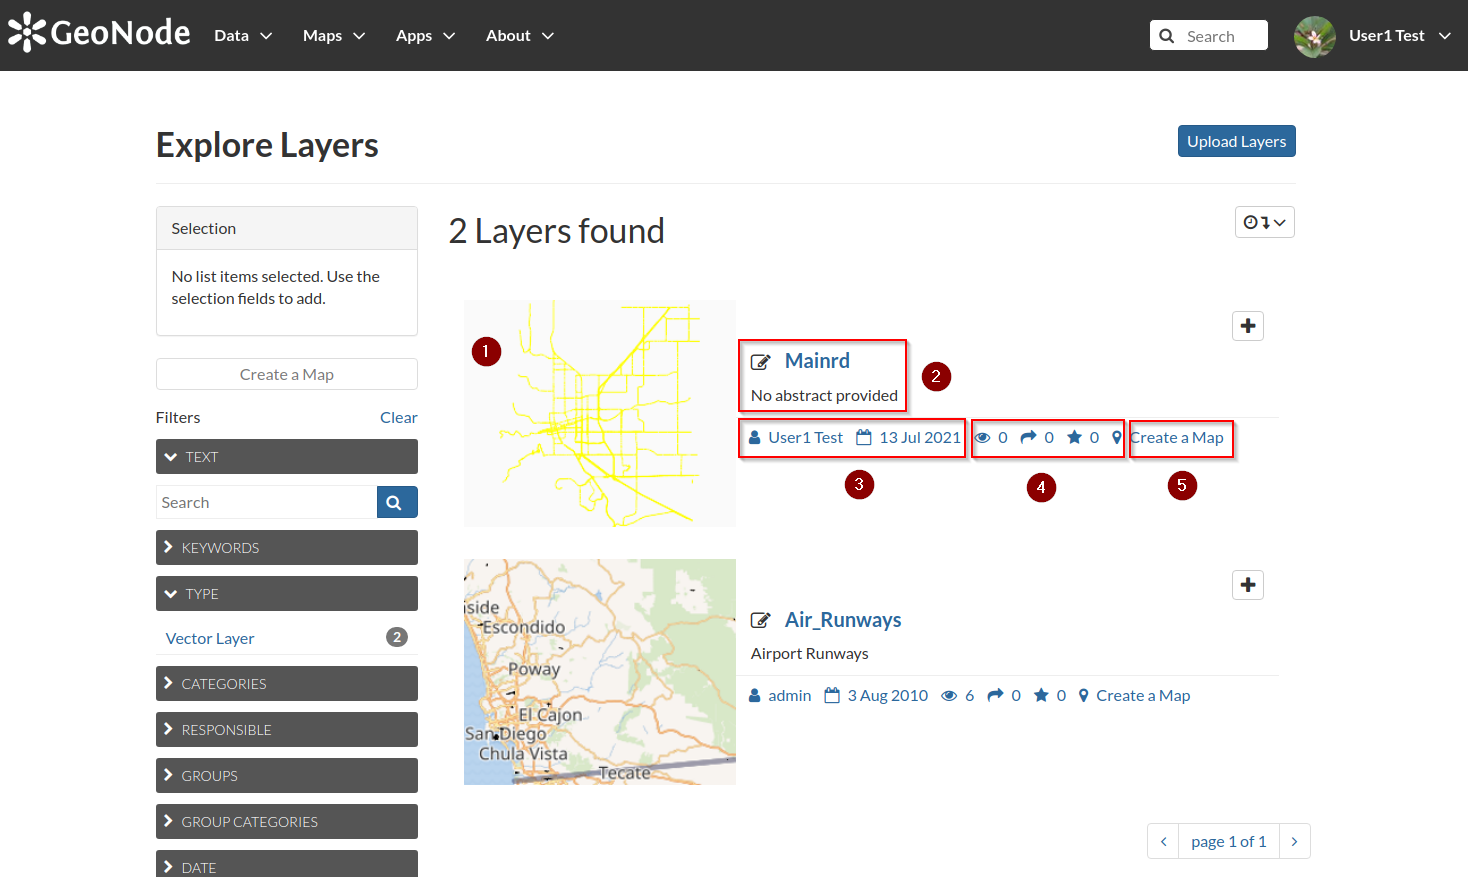
Layerslink of theDatadropdown menu in order to go back to the list of all the available layer. The newly uploaded layer will be listed and a small summary card will report the most important information about that:A thumnnail depicts a quick preview of the layer
A small section reports the clickable name of the layer along with an abstract, which by default is empty
There’s the name of the owner/creator of the content as well as the publication date
Some social shortcuts allow us to understand how many times the layer has been viewed or downloaded
Finally a shortcut link would allow us to create an empty map by using this layer as a overlay
Adding a GeoTiff
Repeat the first steps we have done for the
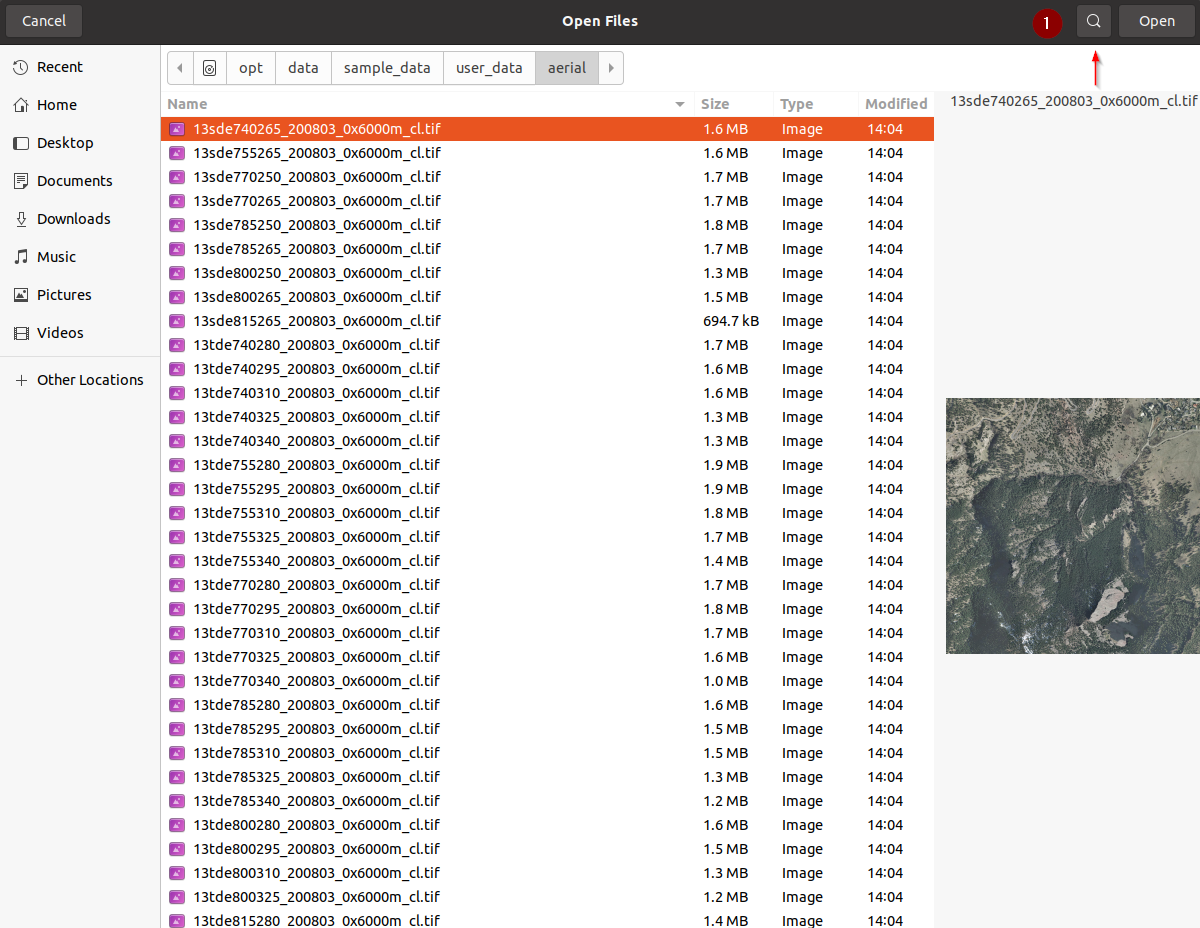
Shapefileupload, select and click theChoose FilesbuttonFrom the
file browser windownavigate to:/opt/data/sample_data/user_data/aerialClick on the
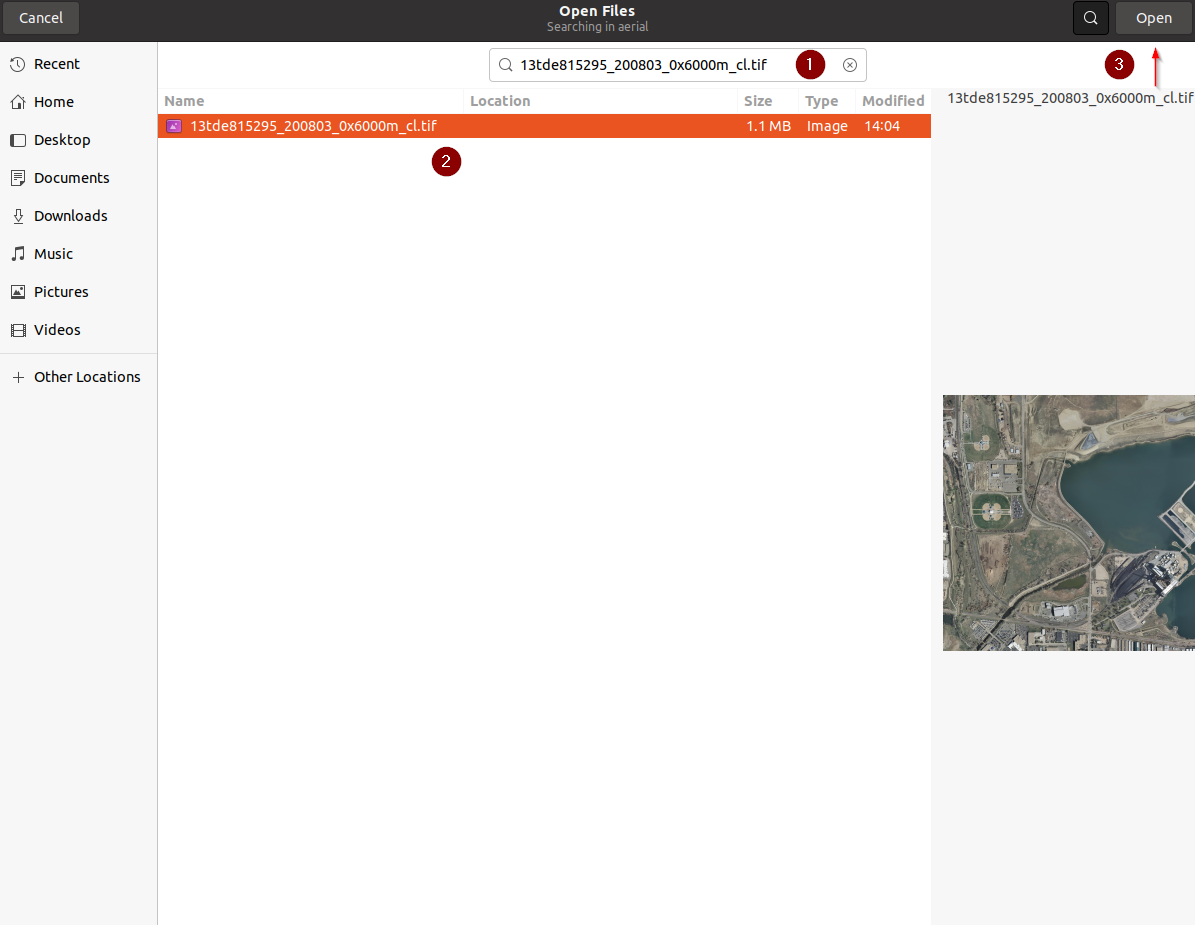
searchbutton
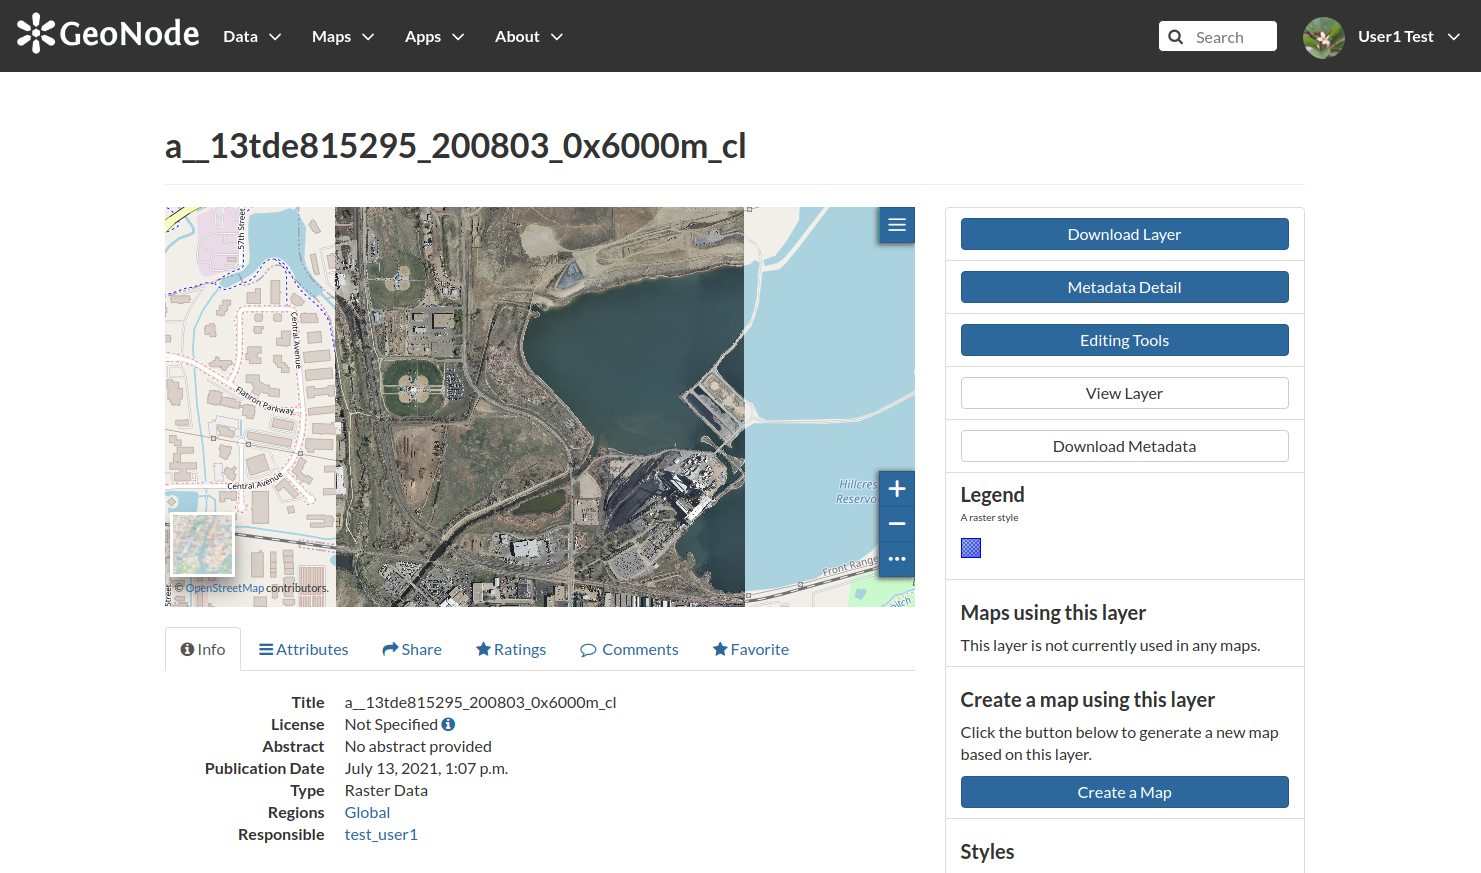
In the
search textboxinsert the name13tde815295_200803_0x6000m_cl.tifBy pressing
RIGHT-SHIFTplusLEFT-CLICKselect all the13tde815295_200803_0x6000m_cl.tiffileClick on the
Openbutton
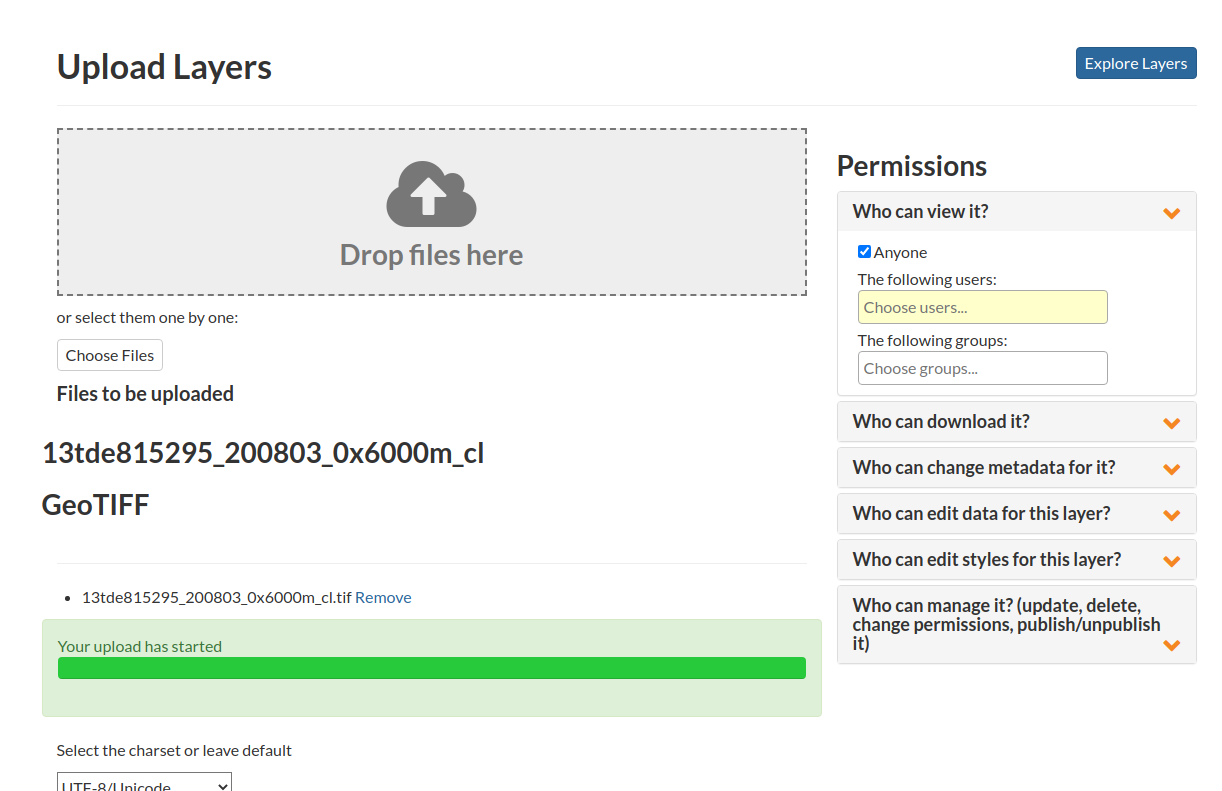
Upload the file and wait for the progress bar to finish
Move to the layers list and select the newly created layer
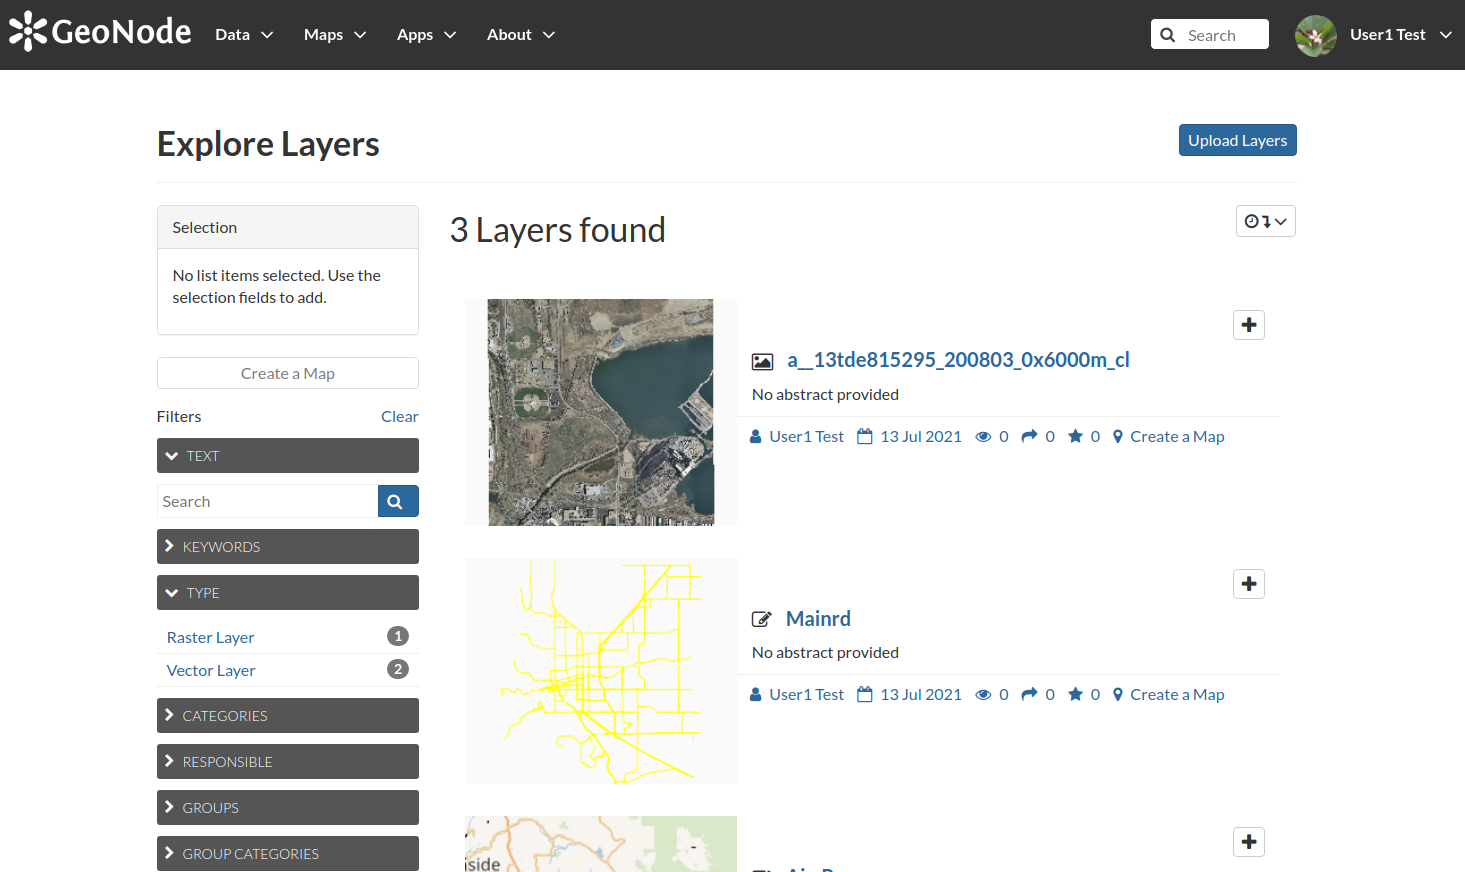
Make sure you can navigate the map preview from the layer details page