Creating and Editing Data
Create an Empty Layer
Click on
Data > Create Layer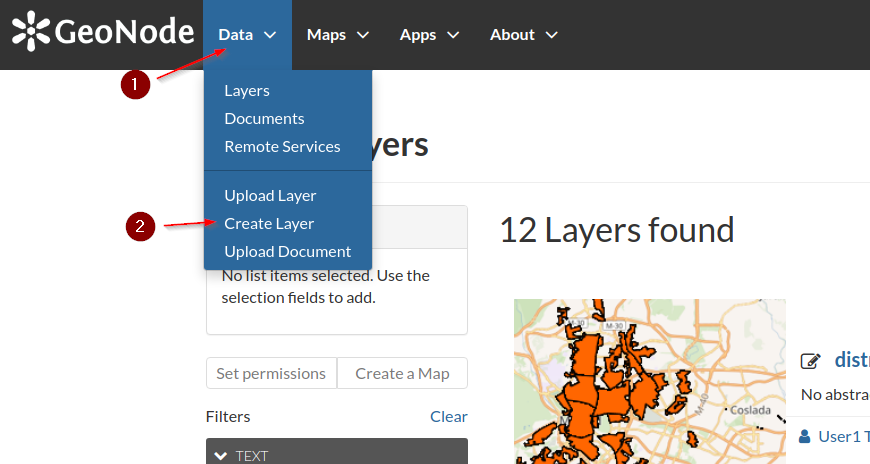
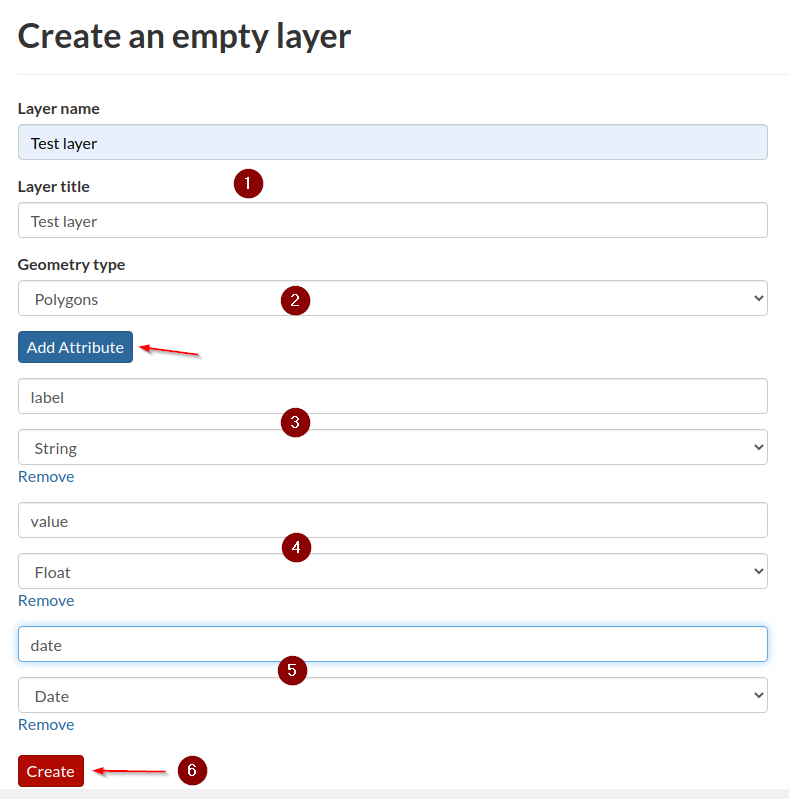
Fill the form with some values; first of all insert a
nameandtitleand selectPolygonasgeometry typeAdd three
attributesand click theCreatebuttonlabel:Stringvalue:Floatdate:Date
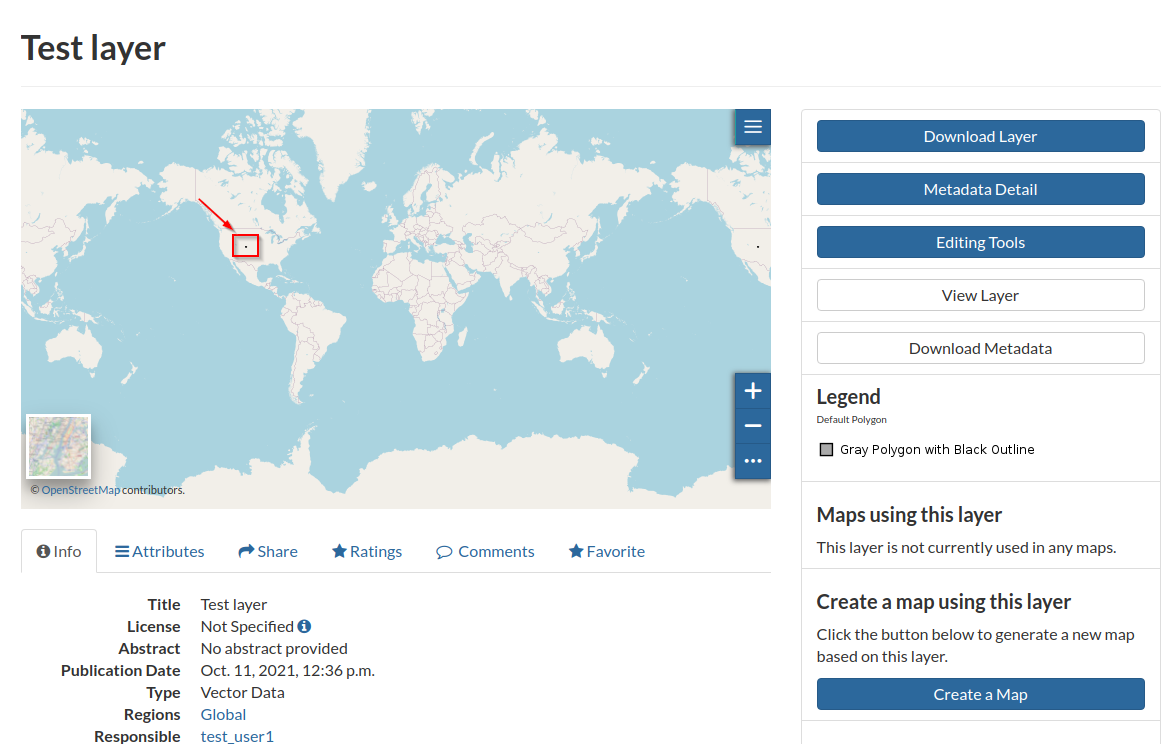
GeoNode will create the new empty layer with the selected
geometry typeandattributesand will redirect you directly to the detail page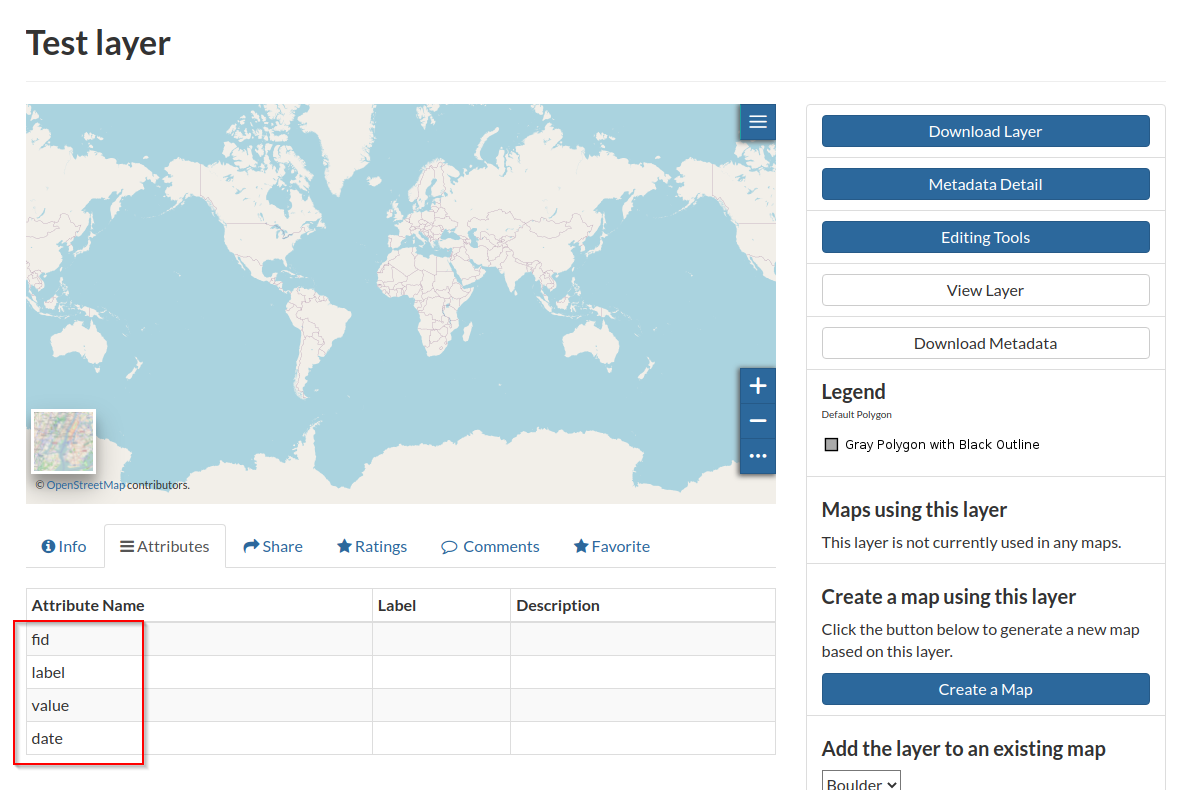
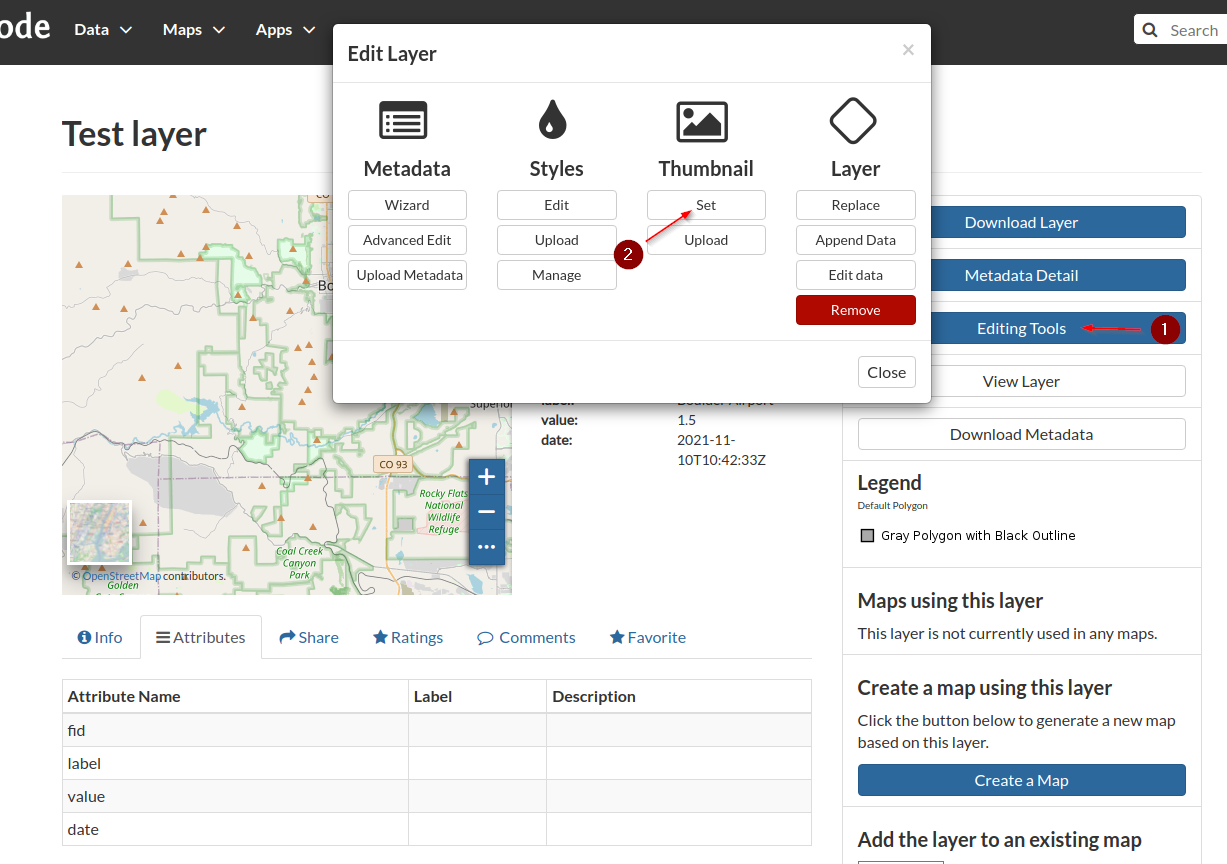
Edit the Layer Data
Click on
Editing Tools > Layer > Edit Data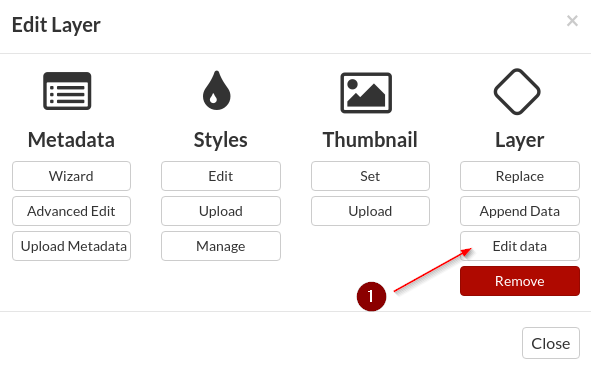
Go to
Boulderarea by using thegeocodingwidget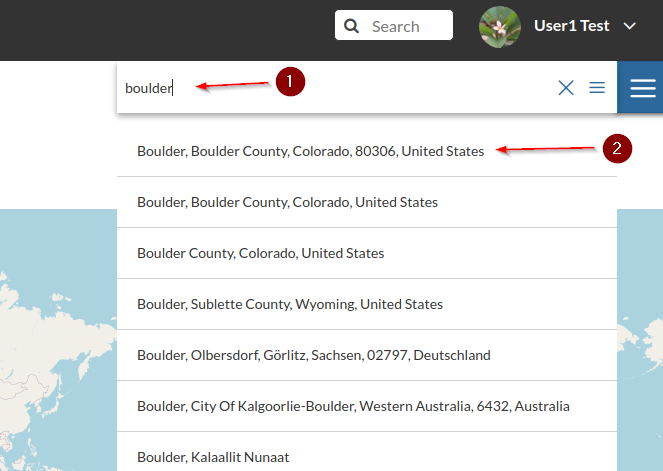
Click on the
pencylin order to enter theedit mode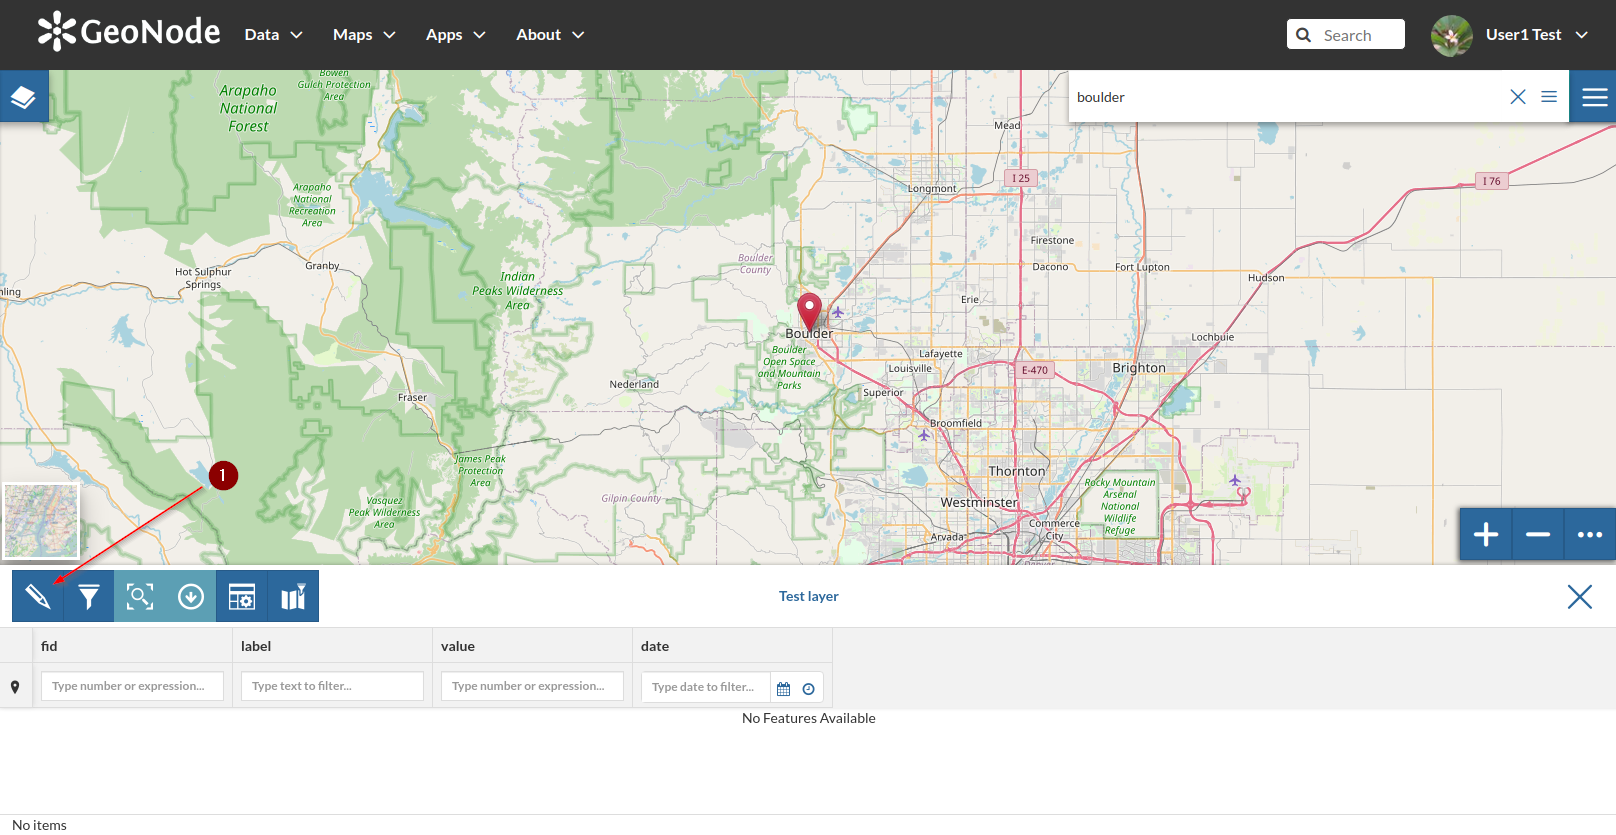
Click on the
add new geometrybutton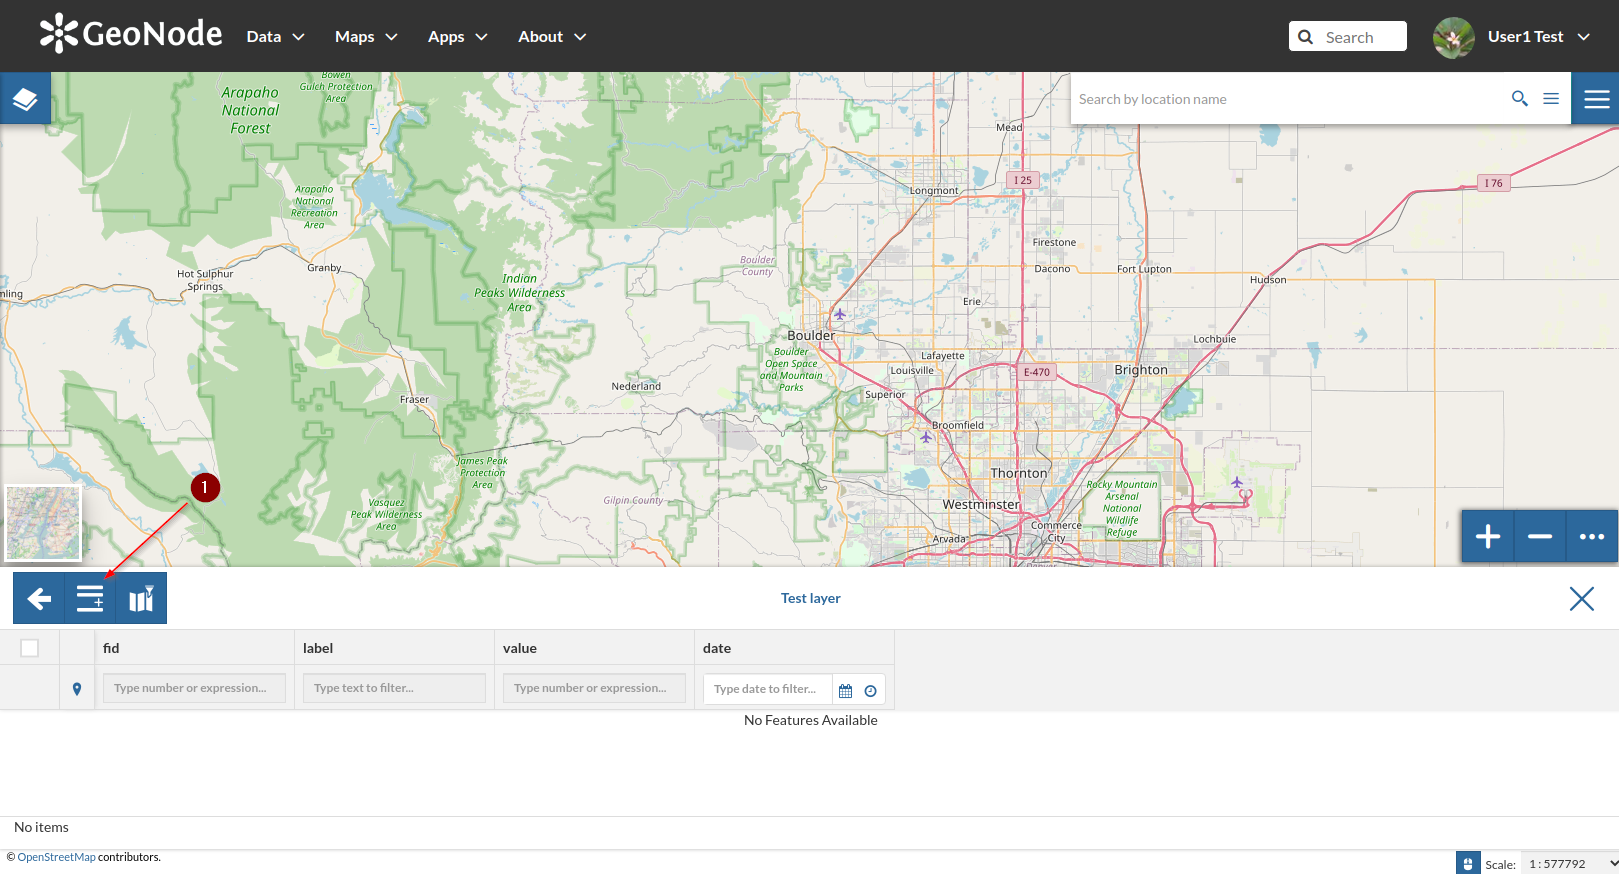
Click on the
Pencylagain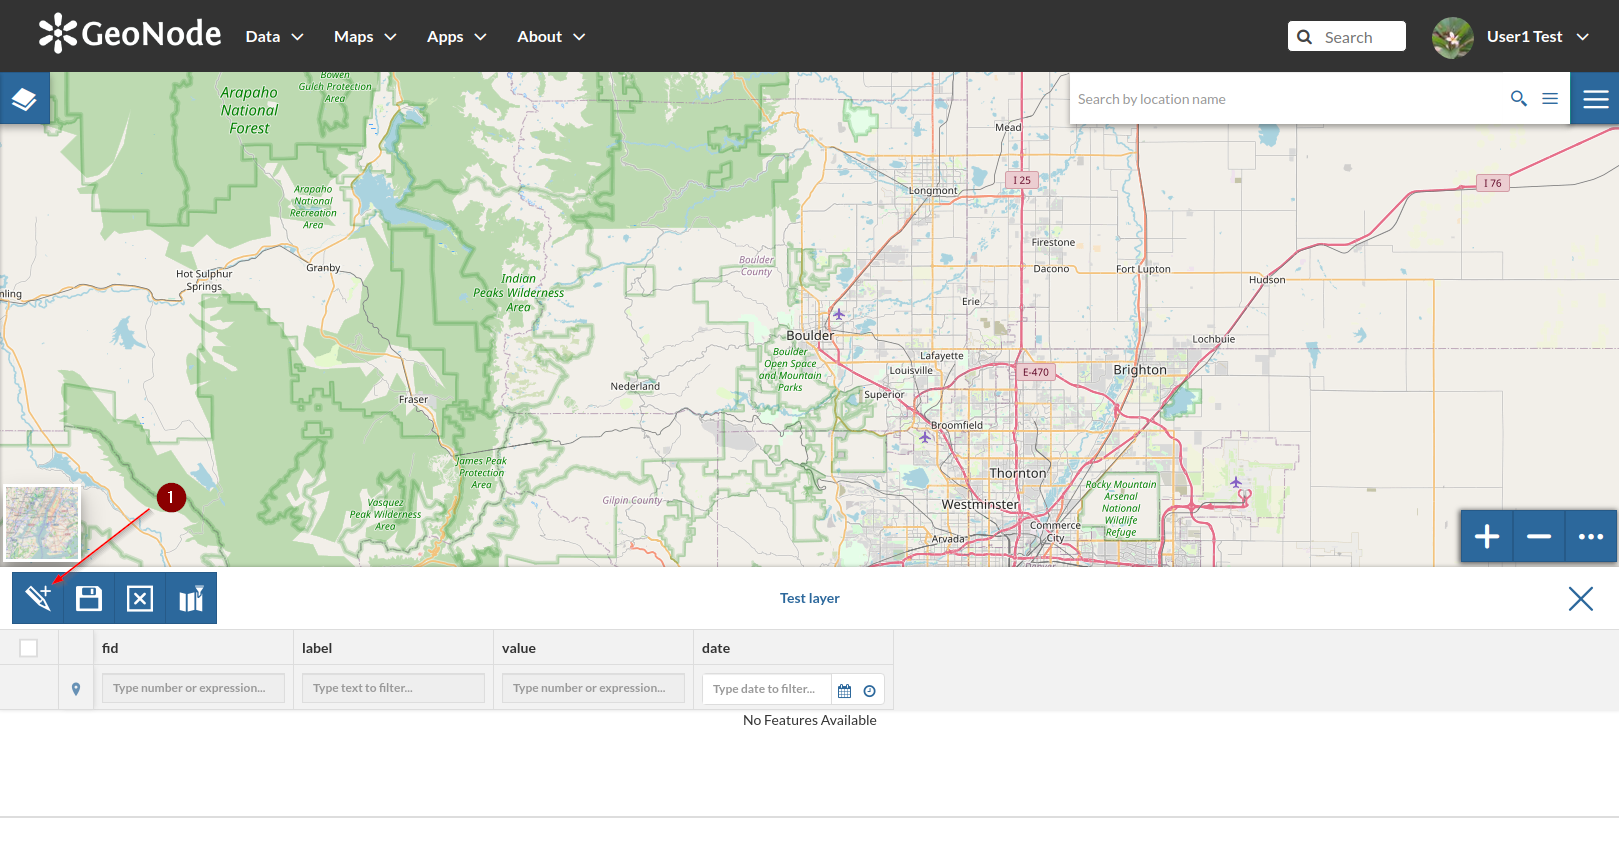
Draw a small
polygonover theBoulder Airportand click on thefloppy diskbutton
Double-click on the
attributes tablecolumns in order to enable theedit modeon the values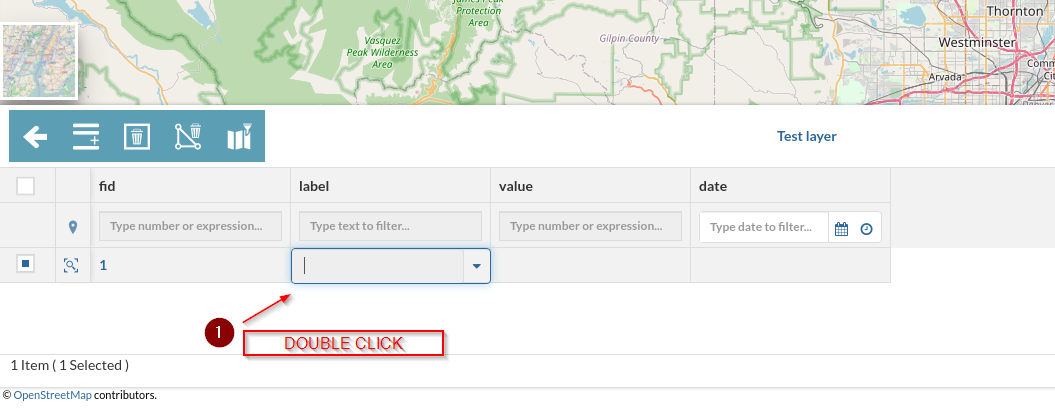
Insert some values as shown below; the date-time attributes must be provided in ISO format
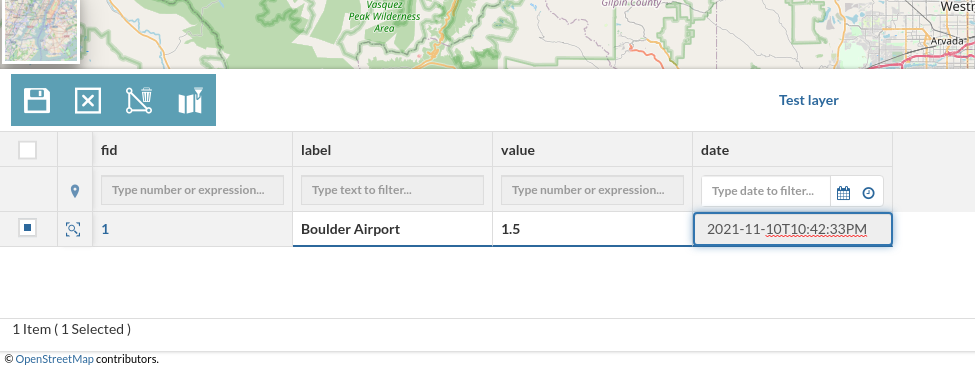
Save and repeat the operation as many times you want
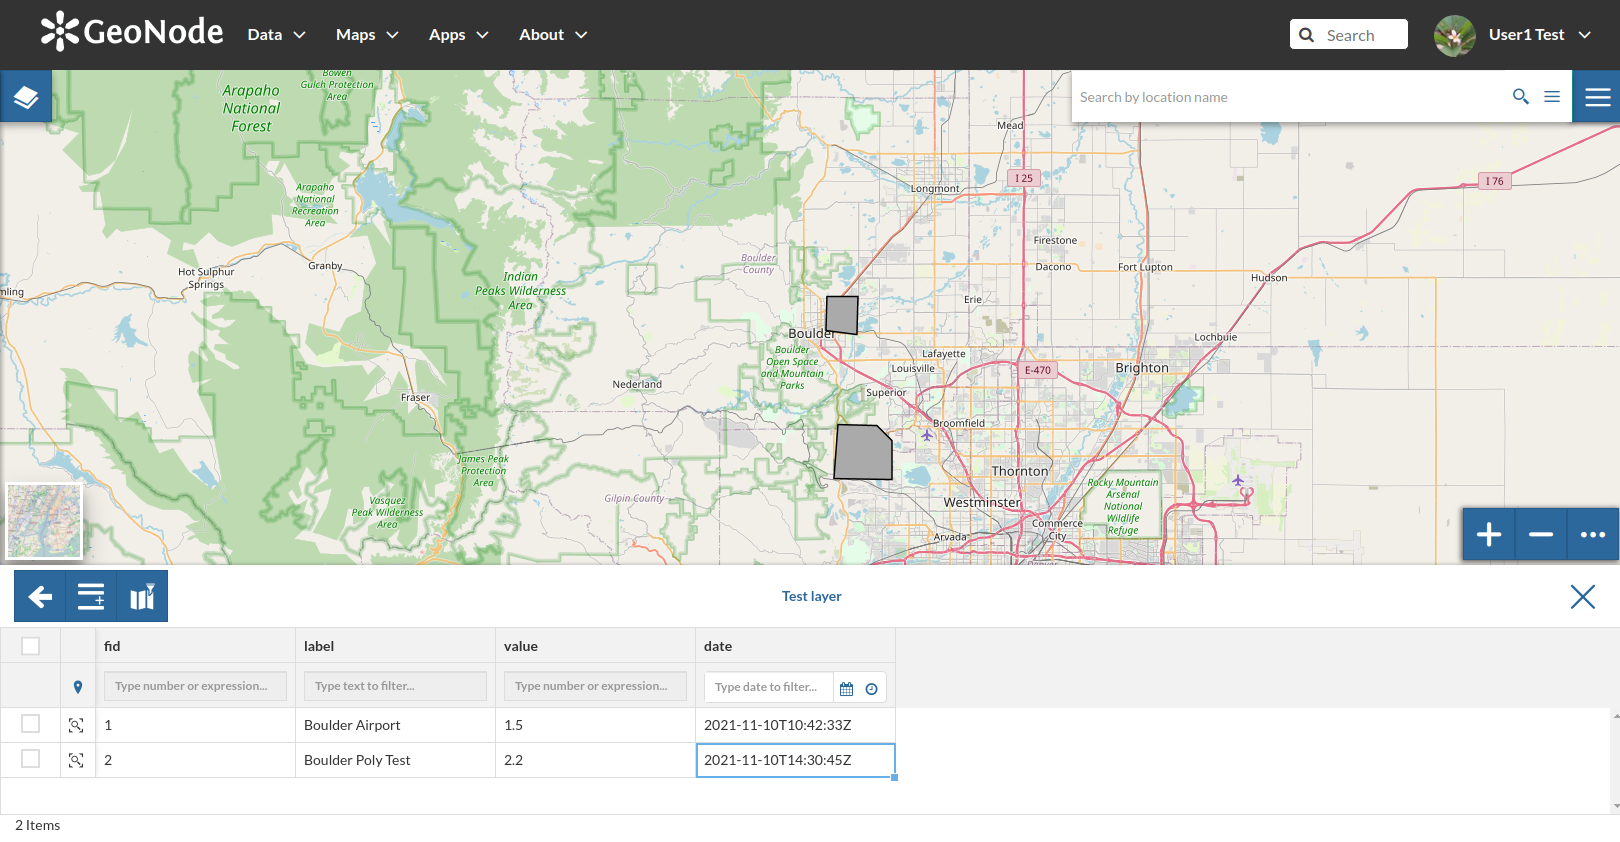
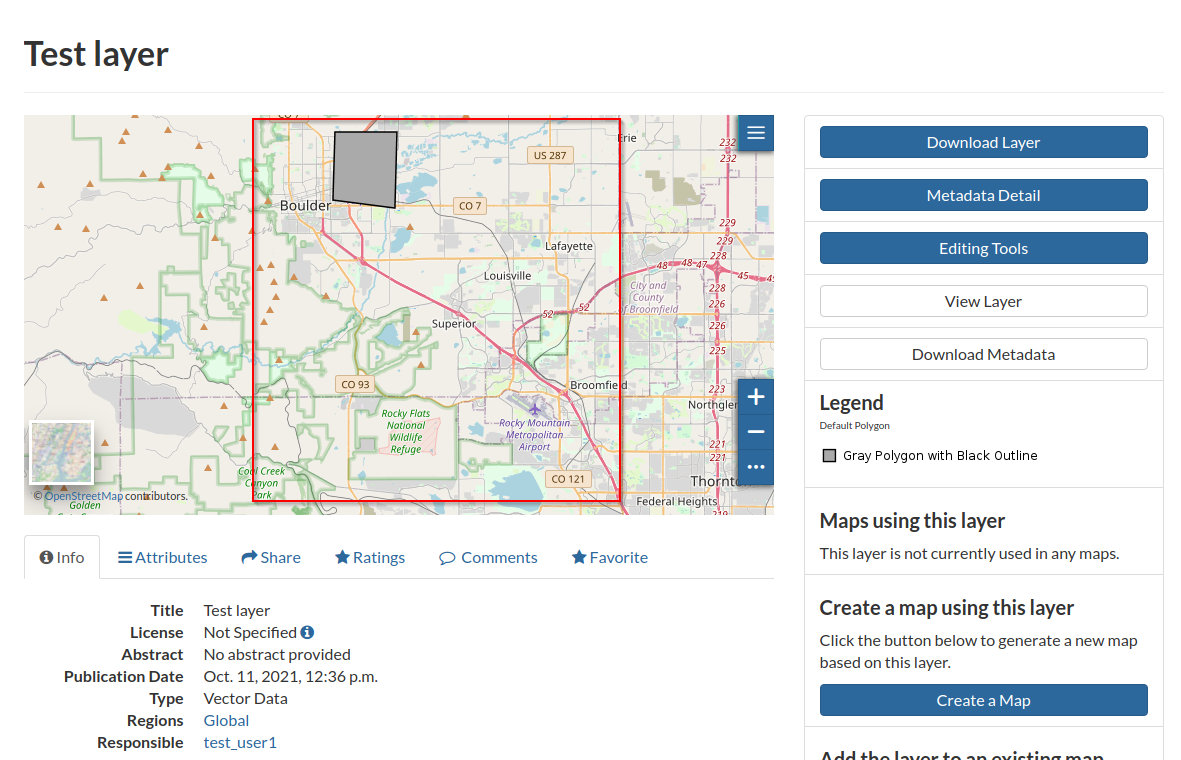
Once finished, go back to the layer detail page; you will notice that GeoNode will show some features but the bounding box is still the whole world; remember to clean the image cache of the browser in order to show the new features
Update the Layer Bounding Box
Logout and login again as an
admin; from the context menù, click onGeoServer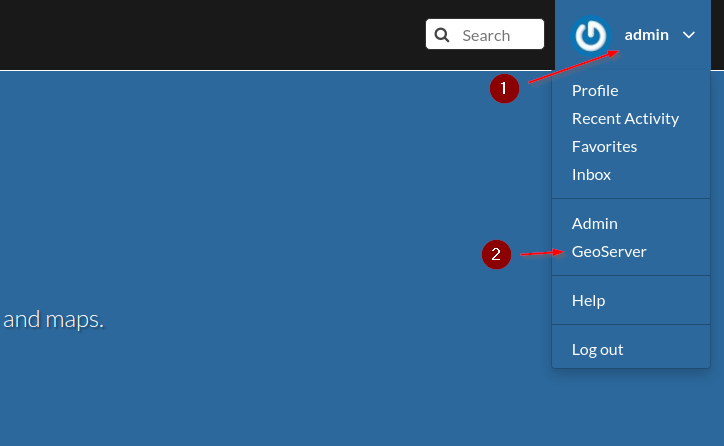
If you are still logged in as
test_user1on GeoServer, follow the steps below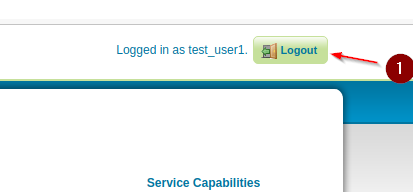

Go to the GeoServer
Data > Layerssection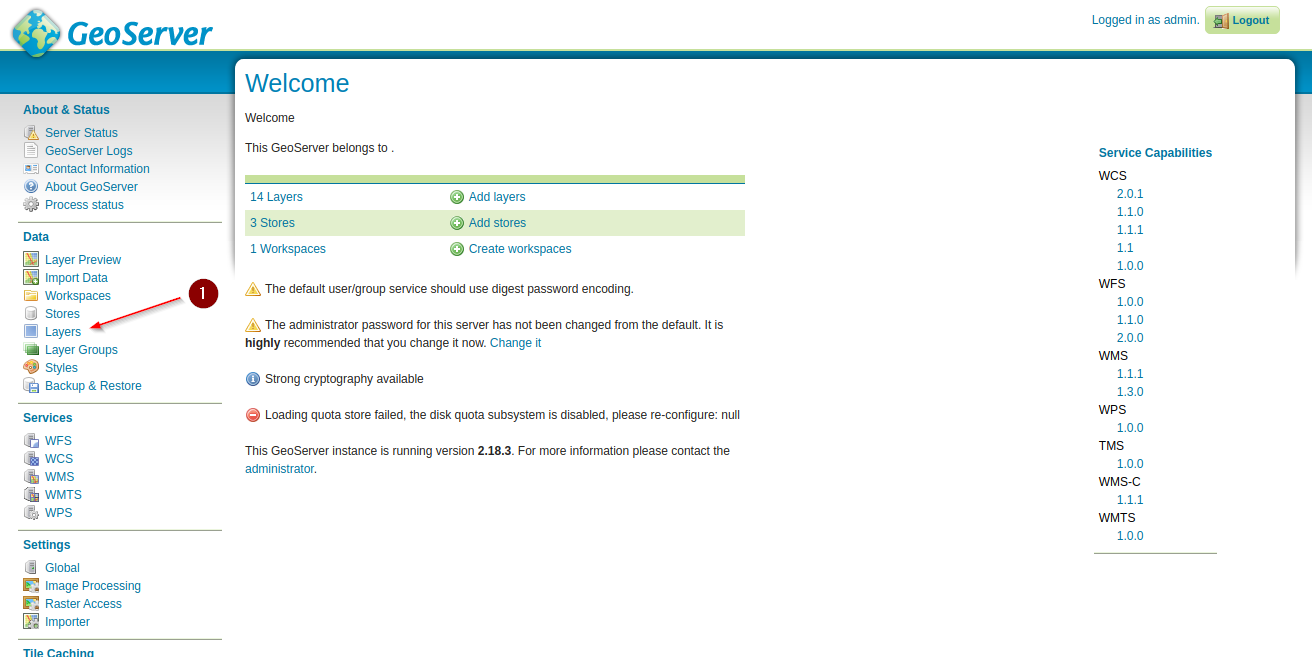
Select and click on the
Test Layeryou just created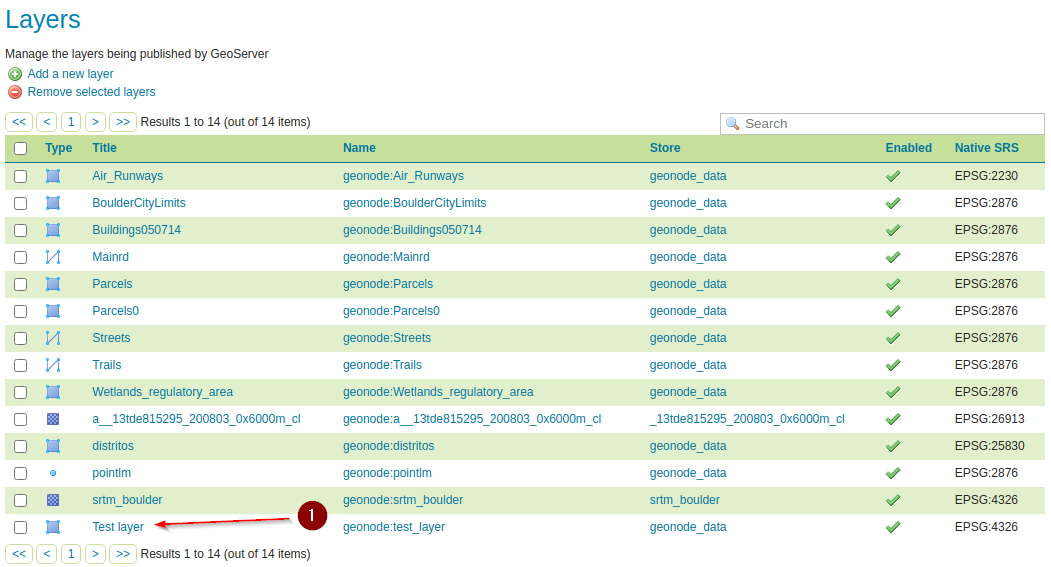
Scroll down to the
Bounding Boxessection, update them as shown in the figure, andSave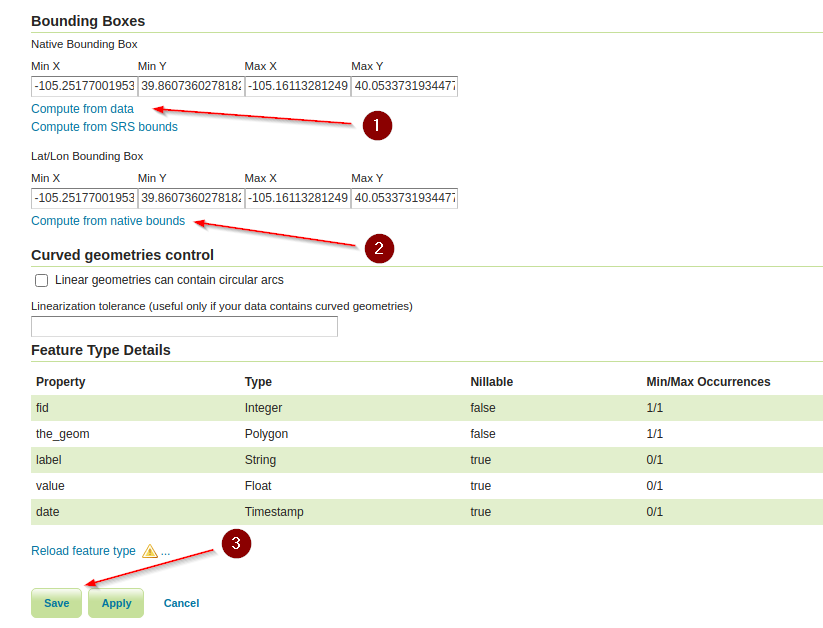
Go back to GeoNode; from the layer details page click on the
Refresh Attributes and Statisticsbutton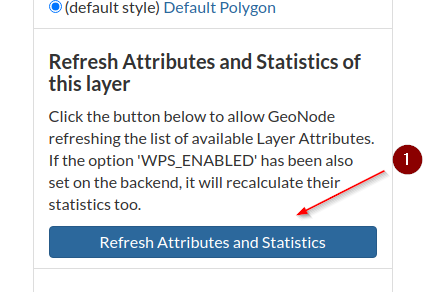
The page will be refreshed and now the layer will be zoomed on the right location

Delete Data
Enter the
Edit Datamode again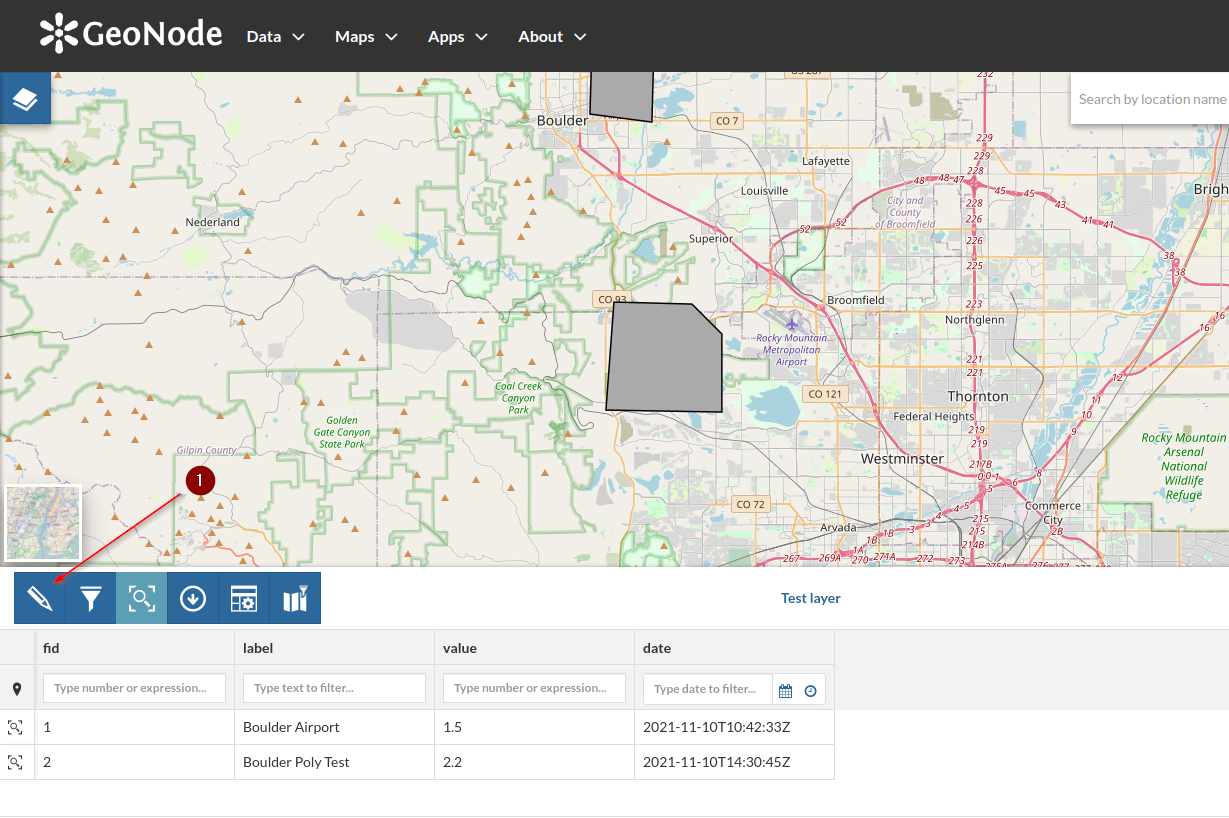
Select (click over) a polygon and click on the
Trash Binicon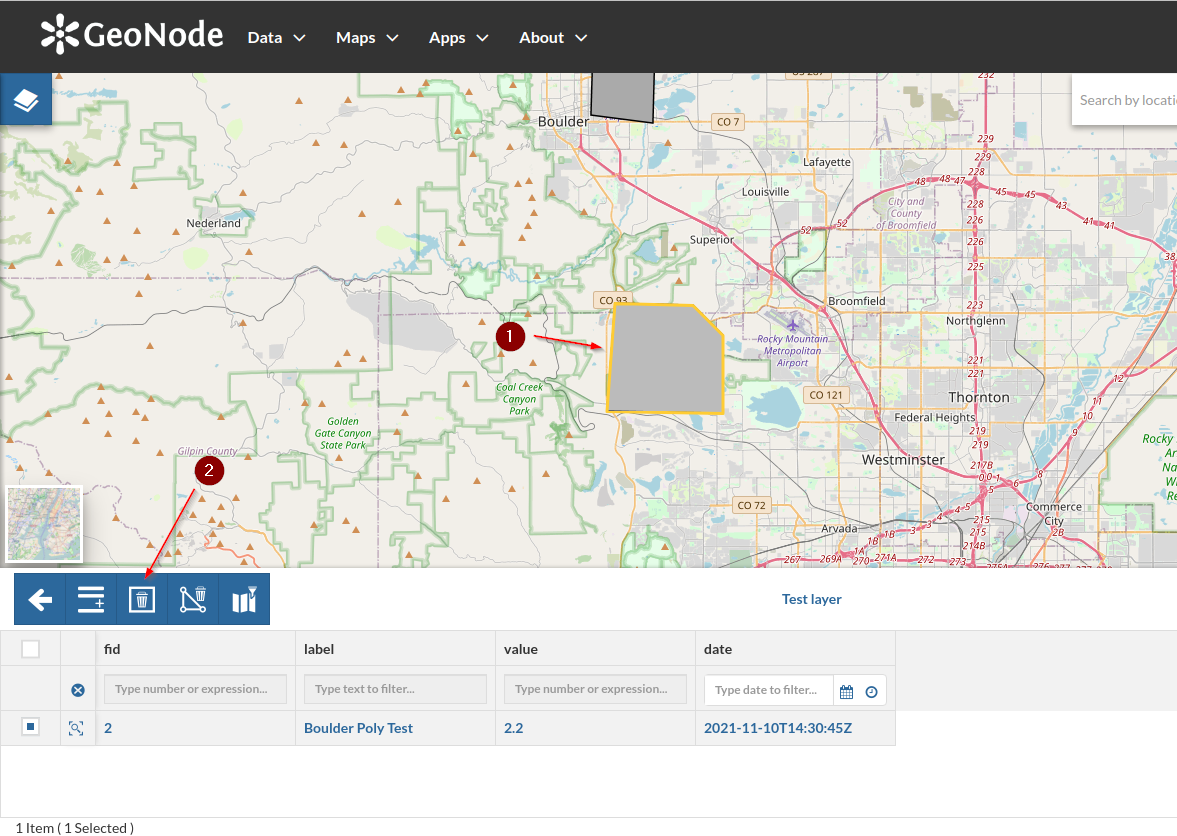
Confirm the deletion and verify the polygon disappear from the map
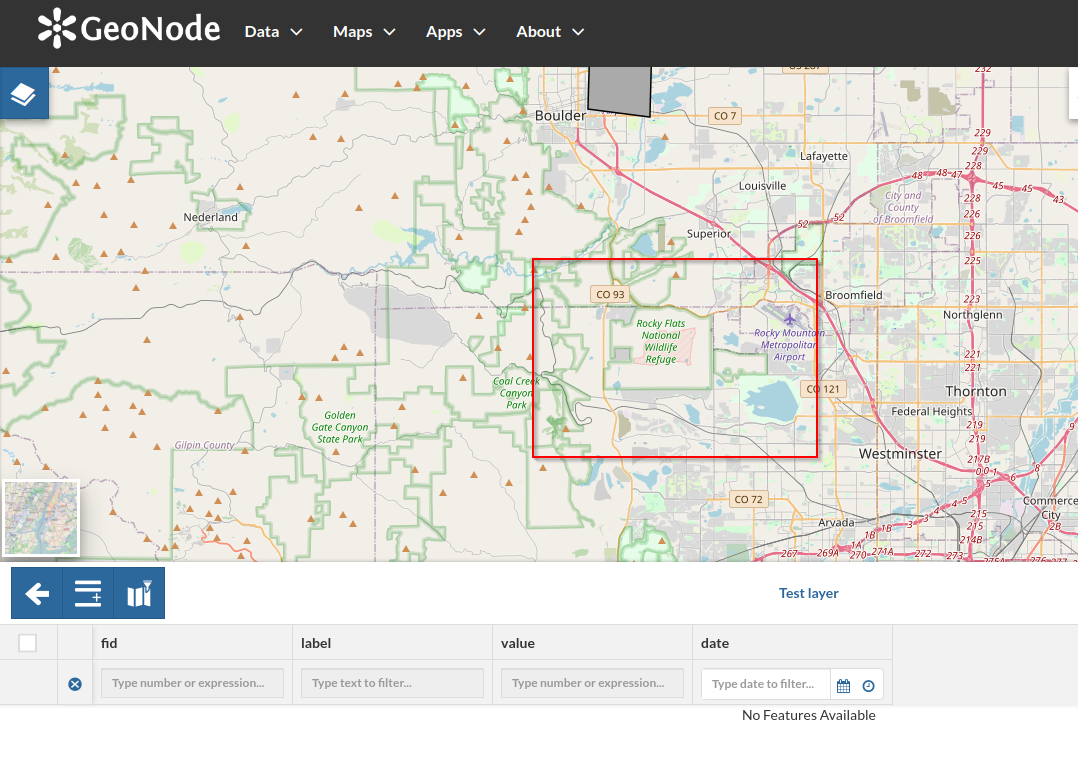
Go back to the layer details page, refresh the browser image cache, and verify the feature is not present anymore
Refresh the Thumbnail
Last thing to do is to refresh the layer thumbnail