Create GeoNode DB & Finalize GeoNode Setup
Dans cette section nous allons setup les utilisateurs et les bases de données pour GeoNode à PostgreSQL.
Avertissement
Be sure you have successfully completed the steps in the previous section.
Databases and Permissions
First create the geonode user. GeoNode is going to use this user to access the database
$ sudo -u postgres createuser -P geonode
On vous demandera de définir un mot de passe pour l’utilisateur. Entrez geonode comme mot de passe
Create geonode database with owner geonode
$ sudo -u postgres createdb -O geonode geonode
And database geonode_data with owner geonode
$ sudo -u postgres createdb -O geonode geonode_data
Switch to user postgres and create PostGIS extension
$ sudo -u postgres psql -d geonode_data -c 'CREATE EXTENSION postgis;'
Then adjust permissions
$ sudo -u postgres psql -d geonode_data -c 'GRANT ALL ON geometry_columns TO PUBLIC;'
$ sudo -u postgres psql -d geonode_data -c 'GRANT ALL ON spatial_ref_sys TO PUBLIC;'
$ sudo -u postgres psql -d geonode_data -c 'GRANT ALL PRIVILEGES ON ALL TABLES IN SCHEMA public TO geonode;'
Now we are going to change user access policy for local connections in file pg_hba.conf
$ sudo vim /etc/postgresql/9.5/main/pg_hba.conf
Scroll down to the bottom of the document. We only need to edit one line. Change
# "local" is for Unix domain socket connections only
local   all             all                                     peer
Into
# "local" is for Unix domain socket connections only
local   all             all                                     trust
Note
Si votre base de données PostgreSQL réside sur un ordinateur distinct, vous devez autoriser l’accès distant aux bases de données dans le pg_hba.conf pour l’utilisateur geonode et dire PostgreSQL pour accepter des connexions non locales dans votre fichier postgresql.conf
Then restart PostgreSQL to make the change effective
$ sudo service postgresql restart
PostgreSQL is now ready. To test the configuration try to connect to the geonode database as geonode
$ psql -U geonode geonode
Finalize GeoNode Setup
Once the DB has been correctly configured, we can finalize the GeoNode setup.
If not already active let’s activate the new geonode Python Virtual Environment:
$ workon geonode
Move into the geonode home folder
$ cd /home/geonode
Move into the my_geonode custom project base folder
$ cd my_geonode
First of all we need to tweak a bit the my_geonode local_settings.
In order to do that, rename the my_geonode/local_settings.py.sample file to my_geonode/local_settings.py end edit it:
$ cp my_geonode/local_settings.py.sample my_geonode/local_settings.py
$ vim my_geonode/local_settings.py
Update the following sections at the accordingly to your server configuration
...
SITE_HOST_NAME = os.getenv('SITE_HOST_NAME', "localhost")
SITE_HOST_PORT = os.getenv('SITE_HOST_PORT', "8000")
SITEURL = os.getenv('SITEURL', "http://%s:%s/" % (SITE_HOST_NAME, SITE_HOST_PORT))

...

EMAIL_ENABLE = True

if EMAIL_ENABLE:
    EMAIL_BACKEND = 'django.core.mail.backends.smtp.EmailBackend'
    EMAIL_HOST = 'localhost'
    EMAIL_PORT = 25
    EMAIL_HOST_USER = ''
    EMAIL_HOST_PASSWORD = ''
    EMAIL_USE_TLS = False
    DEFAULT_FROM_EMAIL = '{{ project_name }} <no-reply@{{ project_name }}>'

...

DATABASES = {
    'default': {
         'ENGINE': 'django.db.backends.postgresql_psycopg2',
         'NAME': 'geonode',
         'USER': 'geonode',
         'PASSWORD': 'geonode',
         'CONN_TOUT': 900,
     },
    # vector datastore for uploads
    'datastore' : {
        'ENGINE': 'django.contrib.gis.db.backends.postgis',
        'ENGINE': '', # Empty ENGINE name disables
        'NAME': 'geonode_data',
        'USER' : 'geonode',
        'PASSWORD' : 'geonode',
        'HOST' : 'localhost',
        'PORT' : '5432',
        'CONN_TOUT': 900,
    }
}

...

OGC_SERVER_DEFAULT_USER = os.getenv(
    'GEOSERVER_ADMIN_USER', 'admin'
)

OGC_SERVER_DEFAULT_PASSWORD = os.getenv(
    'GEOSERVER_ADMIN_PASSWORD', 'geoserver'
)

...
You may also want to tweak some configuration on my_geonode settings.
This file inherits my_geonode local_settings and set some GeoNode default settings:
$ vim my_geonode/settings.pyUpdate the following sections at the accordingly to your server configuration
...
# Make sure GeoNode recognizes your servers

ALLOWED_HOSTS = # Add here your hosts

...
# Modify time zone accordingly

TIME_ZONE = os.getenv('TIME_ZONE', "America/Chicago")

...
# Tweak GeoNode behavior with the following settings
# (see GeoNode documentation for more details)

CLIENT_RESULTS_LIMIT = 20
API_LIMIT_PER_PAGE = 1000
FREETEXT_KEYWORDS_READONLY = False
RESOURCE_PUBLISHING = False
ADMIN_MODERATE_UPLOADS = False
GROUP_PRIVATE_RESOURCES = False
GROUP_MANDATORY_RESOURCES = True
MODIFY_TOPICCATEGORY = True
USER_MESSAGES_ALLOW_MULTIPLE_RECIPIENTS = True
DISPLAY_WMS_LINKS = True

# prevent signing up by default
ACCOUNT_OPEN_SIGNUP = True
ACCOUNT_EMAIL_REQUIRED = True
ACCOUNT_EMAIL_VERIFICATION = 'optional'
ACCOUNT_EMAIL_CONFIRMATION_EMAIL = True
ACCOUNT_EMAIL_CONFIRMATION_REQUIRED = True
ACCOUNT_CONFIRM_EMAIL_ON_GET = True
ACCOUNT_APPROVAL_REQUIRED = True

...
# Modify your maps and backgrounds

# default map projection
# Note: If set to EPSG:4326, then only EPSG:4326 basemaps will work.
DEFAULT_MAP_CRS = "EPSG:3857"

# Where should newly created maps be focused?
DEFAULT_MAP_CENTER = (0, 0)

# How tightly zoomed should newly created maps be?
# 0 = entire world;
# maximum zoom is between 12 and 15 (for Google Maps, coverage varies by area)
DEFAULT_MAP_ZOOM = 0

ALT_OSM_BASEMAPS = os.environ.get('ALT_OSM_BASEMAPS', False)
CARTODB_BASEMAPS = os.environ.get('CARTODB_BASEMAPS', False)
STAMEN_BASEMAPS = os.environ.get('STAMEN_BASEMAPS', False)
THUNDERFOREST_BASEMAPS = os.environ.get('THUNDERFOREST_BASEMAPS', False)
MAPBOX_ACCESS_TOKEN = os.environ.get('MAPBOX_ACCESS_TOKEN', '')
BING_API_KEY = os.environ.get('BING_API_KEY', None)

MAP_BASELAYERS = [{
...

# Enable/Disable the notification system
# (see GeoNode documentation for more details)

NOTIFICATION_ENABLED = True

...

# Enable/Disable the integrated monitoring system
# (see GeoNode documentation for more details)

MONITORING_ENABLED = False

# Tweak the logging options

LOGGING = {
...
    "loggers": {
    "django": {
        "handlers": ["console"], "level": "INFO", },
    "geonode": {
        "handlers": ["console"], "level": "INFO", },
    "gsconfig.catalog": {
        "handlers": ["console"], "level": "INFO", },
    "owslib": {
        "handlers": ["console"], "level": "INFO", },
    "pycsw": {
        "handlers": ["console"], "level": "INFO", },
    "{{ project_name }}": {
        "handlers": ["console"], "level": "DEBUG", },
    },
}
Finalize GeoNode Setup & Test
The following Python commands will finalize the setup, configure and create DB tables and download GeoServer.
Avertissement
Before running the next commands be sure that:
- You have completed all the steps from the beginning of this chapter
- You are located into the
my_geonodecustom project base folder - The geonode Python Virtual Environment is enabled
Stop all the services
$ sudo service apache2 stop
$ sudo service tomcat8 stop
# Being sure other services are stopped
Cleanup old stuff
Hard Reset
Avertissement
This will delete all data you created until now.
$ paver reset_hard
# Cleanup folders and old DB Tables
Hard Reset
Note
This will restore only GeoServer.
$ rm -Rf geoserver
$ rm -Rf downloaded/*.*
Revert to default site settings
You need to revert some customizations of the my_geonode
local_settings. In order to do that, edit themy_geonode/local_settings.pyfile:$ vim my_geonode/local_settings.pyComment the following pieces
...
# SITEURL = 'http://localhost'
...
#GEOSERVER_LOCATION = os.getenv(
#    'GEOSERVER_LOCATION', '{}/geoserver/'.format(SITEURL)
#)

#GEOSERVER_PUBLIC_LOCATION = os.getenv(
#    'GEOSERVER_PUBLIC_LOCATION', '{}/geoserver/'.format(SITEURL)
#)
...
Being sure folders permissions are correctly set
$ sudo chown -Rf geonode: my_geonode/uploaded/
$ sudo chown -Rf geonode: my_geonode/static*
Setup and start the system in DEV mode
$ paver setup
# This command downloads and extract the correct GeoServer version

$ paver sync
# This command prepares the DB tables and loads initial data

$ paver start
# This command allows you to start GeoNode in development mode
GeoNode and GeoServer in Development mode
The paver start command allows you to start the server in development (DEV) mode.
That means that you will be able to directly do changes to your code and see the results on the browser.
You need to be careful to the different ports of the services. In DEV mode the services will run on:
- GeoNode port
8000->http://localhost:8000/ - GeoServer port
8080->http://localhost:8080/geoserver
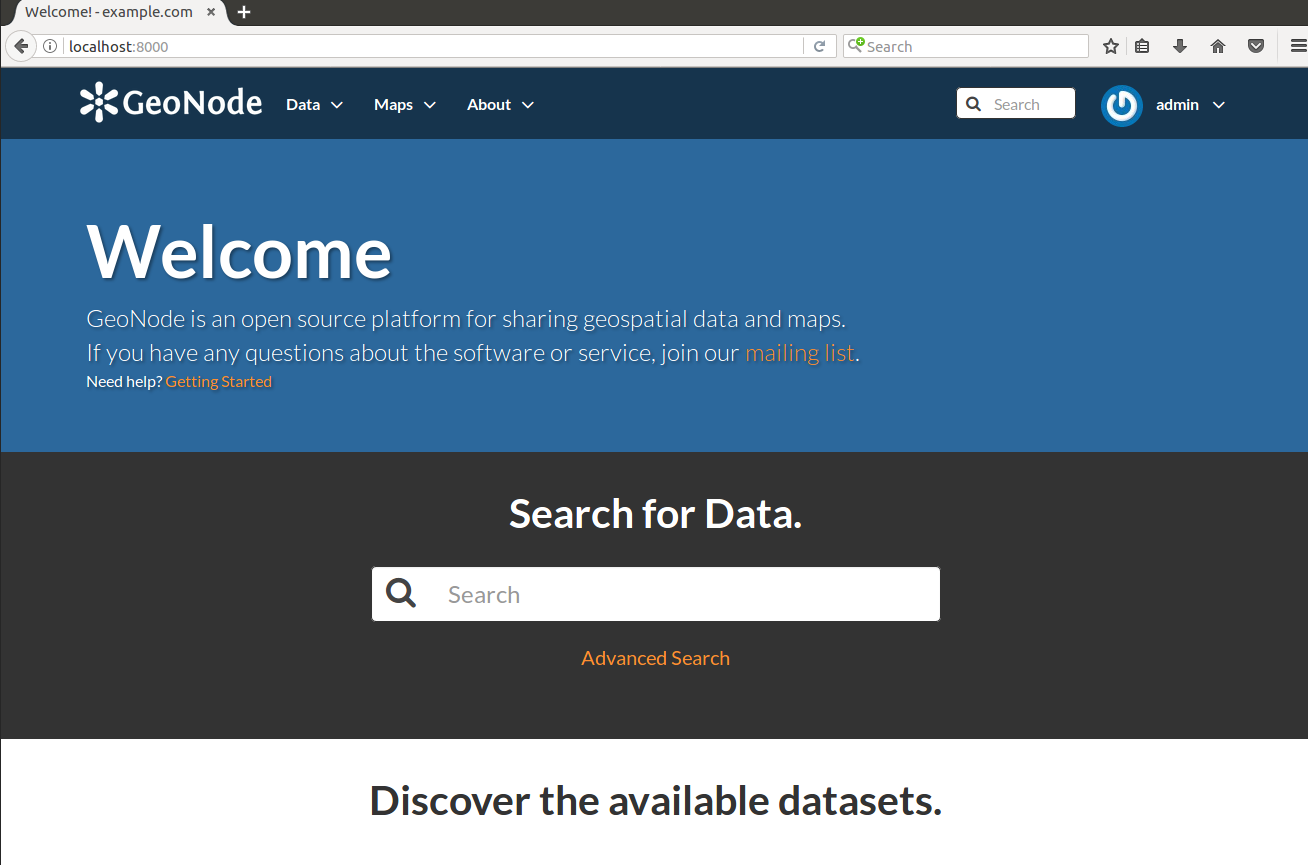
In order to test it, move to http://localhost:8000/